Skip to content
Get App

Breaker Blocks Simplified - ICT Concepts

A TTrades tutorial explaining ICT breaker blocks: how to identify bullish and bearish breakers, combine them with fair value gaps to form the unicorn model, and place stop losses.

Key Takeaways

  • A breaker block forms from a low, high, lower low, higher high (bullish) or the inverse (bearish) sequence, and is marked from the candle series in between.
  • Breaker blocks are most reliable when paired with displacement and a fair value gap, forming the unicorn model.
  • Stop loss placement can go below the breaker and FVG or at the swing point; each has tradeoffs in drawdown and take-profit reachability.
  • Higher time frame context helps confirm breaker blocks and improves trade selection.

What the video covers

  • Introduces breaker blocks as a candlestick pattern formed by a low, high, lower low, and higher high sequence.
  • Explains that the breaker block is the series or single up-close (bullish) or down-close (bearish) candle between the low and high, marked out as a zone to watch for a reaction.
  • Walks through a bullish breaker example on GBP/USD (GU) on the 5-minute chart, showing the retest and continuation higher.
  • Walks through a bearish breaker example on EUR/USD (EU) on the 5-minute chart, showing the high, low, higher high, lower low sequence and displacement lower.
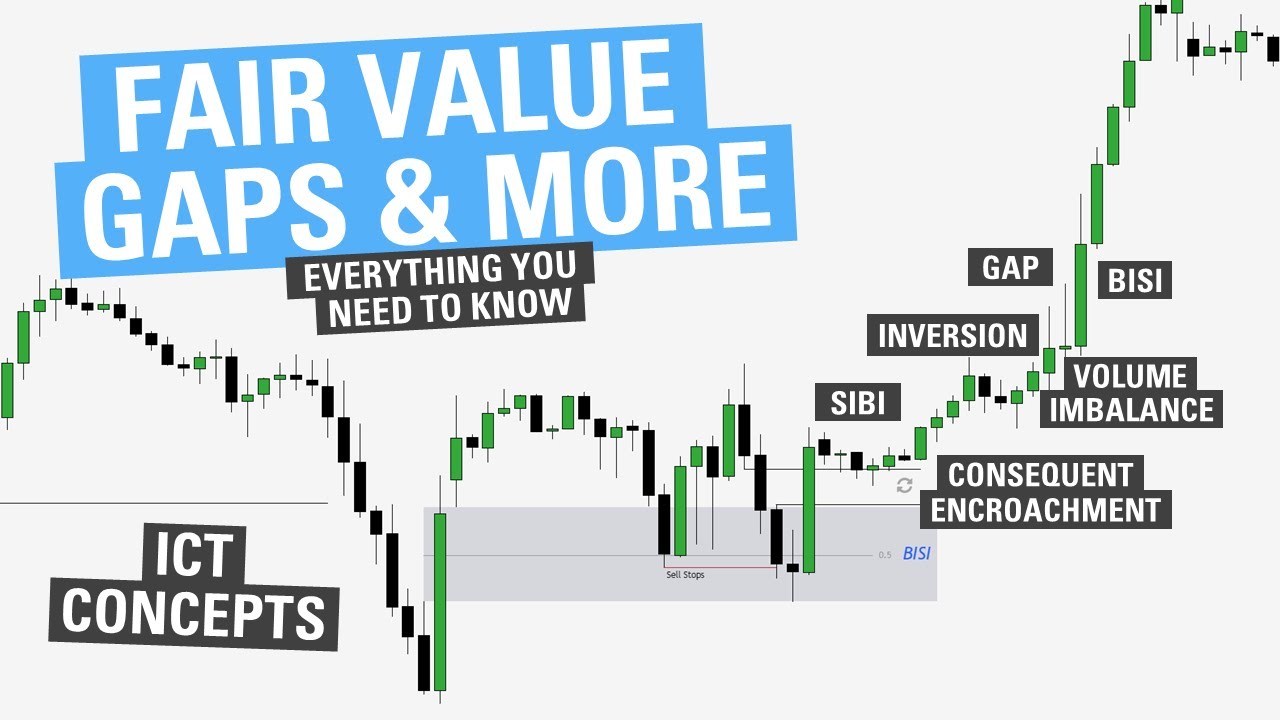
  • Describes the unicorn model: a breaker block overlapping with a fair value gap in the same direction.
  • Covers stop loss placement: below the bullish breaker and its fair value gap, or at the swing low/high, with entries at the start of the FVG or within the breaker.
  • Compares stop placement trade-offs, noting that a tighter stop can reach 2R faster but a wider swing-based stop may avoid being stopped out by a wick.
  • Discusses using higher time frame context and top-down analysis to identify breaker blocks that align with larger market structure.
  • Notes that the presenter directs viewers to a free Discord for supporting PDFs.

Answers

Questions about this video

What is a breaker block according to this video?

The video defines a breaker block as a candlestick pattern formed after a low, high, lower low, and higher high sequence for a bullish breaker, or the inverse for a bearish one. The zone is marked using the series or single up-close (bullish) or down-close (bearish) candles between the low and the high.

What is the unicorn model?

The unicorn model is when a breaker block overlaps with a fair value gap in the same direction. A bearish unicorn pairs a bearish breaker with a bearish FVG, and a bullish unicorn pairs a bullish breaker with a bullish FVG.

Where does the presenter suggest placing a stop loss?

The presenter suggests placing the stop loss either below the breaker block and its associated fair value gap, or at the swing low or high. He notes that each option has benefits and drawdowns, and the choice depends on personal preference.

Full Transcript — Download SRT & Markdown

00:04
Speaker A
[Music]
00:19
Speaker A
How's it going everyone? Happy New Year! This video is going to be about breaker blocks. But before we get started, if you are looking to get access to all my PDFs in one place, make sure to join my free Discord, as they are all located in the bottom educational section of that. With that being said, let's hop into the PDF and get started.
00:31
Speaker A
bearish breaker block now a breaker block is a Candlestick pattern in which we form a low high lower low and higher high so let's go over that so the first thing we have is a low then a high is
00:42
Speaker A
So we are going to learn about breaker blocks. We will first go over a bullish breaker block, and then a bearish breaker block. Now, a breaker block is a candlestick pattern in which we form a low, high, lower low, and higher high. So let's go over that. The first thing we have is a low, then a high is created, then we create a lower low, and then a higher high. Once we have the low, high, lower low, higher high, then we have a breaker block formation, and then we look for the series or single up-close candle here between the low and the high, marking that out. That is our breaker block, and we'll look for a reaction there to continue higher.
00:54
Speaker A
candle here between the low and the high marking that out that is our breaker block and we'll look for a reaction there to continue higher so let's hop into the charts and go over an example of this so in this example of a bullish
01:06
Speaker A
So let's hop into the charts and go over an example of this. In this example of a bullish breaker block, we are looking at GU on the 5-minute chart. Now, with a bullish breaker, we need a low, high, lower low, then higher high. Let's see when a low forms. So here we get a potential low, marking that out. Now we're looking for a high. Here we form a swing high. Now looking for a lower low, you can see we've created a lower low, but we want to see when that gets confirmed and put in a swing low. So here we now have a lower low. Now we're looking for a higher high, and here we get that. So now we have a low, high, lower low, higher high. From here I can mark out the series of up-close candles here as our breaker block. When price returns to this area, we should see a reaction. Here we retest the breaker block and start to continue higher. We come back, we sweep this low into the breaker block, the bodies are still respecting, and we continue higher.
01:20
Speaker A
marking that out now we're looking for a high here we form a swing high now looking for a lower low you can see we've created a lower low but we want to see when that gets confirmed and put in
01:33
Speaker A
So just to review: we have a low, a high, lower low, then higher high. That formation forms a bullish breaker block, marking out the single or series of up-close candles here, dragging it out. This is where I look for a reaction when price retests this area.
01:52
Speaker A
candles here as our breaker block now when price returns to this area we should see a reaction here we retest the breaker block and start to continue higher we come back we sweep this low into the breaker block the bodies are
02:13
Speaker A
Now, taking a look back at the PDF, what do I look for in a bearish breaker block? Well, I want to see a high, low, higher high, then lower low. From here I can look for the series or single down-close candle, mark that out, and then look for a reaction there. Let's hop into another example of a bearish breaker block. So here we are on the EU 5-minute chart, looking at an example of a bearish breaker. Now, if you notice, we have a high right here, we now have a low, we now have a higher high. So now we're looking for a lower low. You can see that never forms, so this does not form a breaker.
02:30
Speaker A
is where I look for a reaction when price retests this area now taking a look back at the PDF what do I look for in a bearish breaker block well I want to see a high low higher high then lower
02:43
Speaker A
Now, looking at it this way, we have a high, low, now we have a higher high up here. Now if we form a lower low here, we form a lower low. So now we have that bearish breaker pattern with a high, low, higher high, lower low. Marking out the series of down-close candles here, I'd want to see price retest this area and continue lower, and there we go. You can see price retests the bearish breaker here, then gets displacement lower.
02:55
Speaker A
5minute chart looking at an example of a bearish breaker now if you notice we we have a high right here we now have a low we now have a higher high so now we're looking for a lower low you can see that never forms so this
03:18
Speaker A
Now, one thing that is important with breaker blocks is I want to see displacement paired with them. For example, I want to see a fair value gap overlapping with them, and that is what forms the unicorn model. The unicorn model is where we have a bearish breaker block aligned with a bearish fair value gap. A bullish unicorn model is when we have a bullish breaker overlapping with a bullish fair value gap.
03:33
Speaker A
have that bearish breaker pattern with a high low higher high lower low so marking out the series of down Clos candles here I'd want to see price retest this area and continue lower and there we go so you can see
03:51
Speaker A
So let's go back into that example we just went over and see if we can see the unicorn model. Rewinding this price action, you can see we have a bearish breaker block right here, and we have displacement through this breaker block. You can see we create a fair value gap here. Now, this leads me into my next lesson, which is stop losses. So let's hop back into the PDF before we finish this example.
04:04
Speaker A
is what forms the unicorn model the unicorn model is where we have a bearish breaker block aligned with a bearish fair value Gap a bullish unicorn model is when we have a bullish breaker overlapping with a bullish fair value
04:16
Speaker A
In placing a stop loss, there are two things I really look for. I look to place it either below the bullish breaker block and the fair value gap that is created there, or at the swing low or high. So let's go back into the example and show that. Here, if I was going to look to take an entry, there are two things I can do. I can either take an entry at the start of the fair value gap, letting it trade up into the breaker, or I can look to take my entry at the breaker within the fair value gap. From here, I can look to have my stop loss either on this swing high, and if I was going to target 2R, I'd need my take-profit down there, or I can look to place it just above the breaker block here, and with that my 2R would be right here.
04:27
Speaker A
block you can see we create a fair value Gap here now this leads me into my next lesson which is stop losses so let's hop back into the PDF before we finish this example in placing a stop loss there are
04:37
Speaker A
So let's see how this works out. You can see we hit 2R pretty quickly with that. If we go back to our initial take-profit using the swing high, it would have just missed our take-profit and then stopped us out. So you can see there are benefits and drawdowns to each stop-loss placement. However, that is up to you to decide what works best for you.
04:50
Speaker A
going to look to take an entry there are two things I can do I can either take an entry at the start of the fair value Gap letting it trade up into the breaker or I can look to take my entry at the
05:00
Speaker A
Let's take another look at an example of a unicorn model. If you notice here, we have a low, a high, a lower low. So if we form a higher high, we will have a breaker block, and here we do form that higher high. Now we can mark out the series of up-close candles here as the breaker block, and look for that to be retested to move higher. And what do we have right here? We have a fair value gap overlapping it.
05:11
Speaker A
place it just above the breaker block here and with that my 2 R would be right here so let's see how this works out you can see we hit two R pretty quickly with that and if we go back to
05:23
Speaker A
The one thing we have to decide here is: do I want to place my entry on this breaker block here to get filled, with my stop below the breaker low, or do I want to wait and place it at the fair value gap here to get better risk-to-reward? Now, if I want to be in this trade, I will take this first entry and allow my stop loss to let it trade back into this area. So if this is my entry, I'll look to target 2R with my stop loss just below the breaker low. Here we get filled in, and here we hit TP. Now, if you notice, it never reached back into this fair value gap here. So this is where it comes up to user discretion. Do you want to wait for that fair value gap entry to get better risk-to-reward, or do you want to be in the trade and allow it to trade back down before going higher?
05:38
Speaker A
works best for you let's take another look at an example of a unicorn model so if you notice here we have a low a high a lower low so if we form a higher high we will have a breaker
05:52
Speaker A
Now, the last thing with this example: as you can see, this stop loss makes much more sense than looking to place my stop loss at this low here. If my stop loss was at this low, I would need to have a take-profit all the way up here to reach 2R. Versus placing it just below the breaker here, I get my 2R right here.
06:04
Speaker A
have right here we have a fair value Gap overlapping it so the one thing we have to decide here is do I want to place my entry on this breaker block here to get filled with my stop below the breaker
06:15
Speaker A
Now let's take a quick look at the differences between a breaker block and an order block. A breaker block is the series of up-close candles here, and an order block is the series of down-close candles here. With a breaker block, I mark out the whole series of the candles, including the wicks, while with an order block I will just mark out the opening price in that series of up-close candles. So in this example here, the rectangle would be the breaker block and the blue line would be the order block. They are going to refer to price action at a similar level, however they are different concepts. For example, here my entry for the breaker block would be right here, while the entry for the order block would be right here. So you can see both would have worked out in this case. The order block did catch the almost very low, but they both have their uses. It really just comes down to personal preference.
06:25
Speaker A
back into this area so if this is my entry I'll look to Target to R with my stop loss just below the breaker low here we get filled in and here we hit TP now if you notice it never reached back into this fair
06:42
Speaker A
The next thing I want to quickly discuss is using breaker blocks alongside projection. If you've seen my projection video, you know we can project the manipulation leg to give us targets. So where is the manipulation leg in the breaker? Well, we have a low, high, lower low, higher high. This leg down that created the lower low is our manipulation leg, and I can project that out to this high right here. This gives me levels to target, for example looking for price to reach the 2 to 2.5 range. So in this case, if I was to take an entry on the breaker block with my stop just below—
06:50
Speaker A
to trade back down before going higher now the last thing with this example as you can see how this stop loss makes much more sense than looking to place my stop loss at this low here if my my stop
07:00
Speaker A
loss was at this low I would need to have a take profit all the way up here to reach 2 R versus placing it just below the breaker here I get my 2 R right here now let's take a quick look
07:11
Speaker A
at the differences between a breaker block and an order block a breaker block is the series of up Clos candles here and an order block is the series of down Clos candles here with a breaker block I Mark out the whole series of the candles
07:23
Speaker A
including the Wix while with an order block I will just Mark out the opening price in that series of up Clos candles so in this example here the rectangle would be the breaker block and the blue line would be the order block they are
07:36
Speaker A
going to refer to price action at a similar level however they are different concepts so for example here my entry for the breaker block would be right here while the entry for the order block would be right here so you can see both
07:50
Speaker A
would have worked out in this case the order block did catch the almost very low but they both have their uses it really just comes down to personal preference the next thing I want to quickly discuss is using breaker blocks
08:06
Speaker A
alongside projection if you've seen my projection video you know we can project the manipulation leg to give us targets so where is the manipulation leg in the breaker well we have a low high lower low higher high this leg down that
08:19
Speaker A
created the lower low is our manipulation leg and I can project that out to this high right here this gives me levels to Target for example looking for price to reach to the two to 2.5 so in this case if I was to take an entry
08:32
Speaker A
on the breaker block with my stop just below the low of the breaker block I could look to Target either 2 R which I would have taken right there or I can look to Target these projections right here giving a 4r
08:45
Speaker A
trade you can see how we hit those projections there we get a little retracement and eventually go up and reach for the 4 to -4.5 so now let's hop into a final example where we will go top down
09:00
Speaker A
so in our first top down example we're going to be looking at that same gu trade on the 5 minute and showing the higher time frame context so taking a look at this price action what do you see what I see here is we have a sweep
09:13
Speaker A
here at the low and then we have displacement up now taking what we just learned in this video what else do we see we have a low high lower low and then we create a higher high up here so
09:26
Speaker A
what are these up close candles right here a breaker block so now we have a breaker block overlapping with a fair value Gap or a unicorn model on the hourly chart and we just entered the London Kill Zone let's hop down to the 5
09:41
Speaker A
minute chart so down here on the 5 minute chart now there is a little bit more context to our first example what do we see here well we see a low a high we make a lower low into an important
09:54
Speaker A
level let's see if we get this placement out we do get this placement out creating a higher high so now we can Mark out that breaker block now what else do we have we have a fair value Gap
10:08
Speaker A
here so if I was worried about missing this trade or I really wanted to get in I could look to take my entry at the start of that fair value Gap my stop at this low and then I could either look to
10:18
Speaker A
Target to R which is right here or these highs or I can also project out that manipulation leg so projecting that out let's say I'm looking for the -2 standard deviations now we're at a 3.62 r trade so let's see how this works
10:40
Speaker A
out and there we hit our takeprofit so you saw this example prior but zooming back out to the hourly chart now you can see the context of why I'd be looking for a trade here we have a higher time
10:50
Speaker A
frame PD array and simply put we're moving from internal liquidity to external liquidity on the hourly time frame in this next example we'll be taking a look at at a unicorn model on the hourly time frame so you can see
11:03
Speaker A
here we have previous day low resting right here which we created equal lows so if this is not taken and we retrace back into this previous range that is an opportunity Too Short now what else do we notice we see a swing High being ran
11:17
Speaker A
right here so we have a high low higher high lower low so what are these down Clos candles those are a breaker block so marking those out what else do we have overlapped with them a fair value Gap so if I did not even want to go to a
11:35
Speaker A
lower time frame I could look to take an entry right here I stop on this high and then looking to Target equal lows so let's see how that works out and we would have gotten filled in right there and there we would hit TP in our
11:54
Speaker A
last top down example we're starting on the es 60-minute chart and if you notice we have a fair value Gap that's been respecting here and we have cells side liquidity or cell stops resting here we drop down on the hourly chart and we
12:08
Speaker A
sweep that close back inside so let's drop down to the 5-minute chart to look for a long setup so here on the 5 minute chart what do we notice we have a low high lower low so let's see if we create
12:22
Speaker A
a higher high and there we create a higher high so where is our breaker block this series of up Clos candles here we also have that aligned with a fair value Gap here so looking to take an entry at the
12:39
Speaker A
fair value Gap my stop below the breaker and targeting to R it would look something like this so let's see how this works out so here we get filled and there we get stopped out so you can see in this example we swept
12:58
Speaker A
cells side liquidity after the open we displaced through the breaker block we created a unicorn model took an entry and then it stopped us out losses are inevitable in trading and that is why I show this example I hope you found this
13:11
Speaker A
video beneficial if you did please consider liking and subscribing and I'll see you guys next week
Topics:breaker blockICTunicorn modelfair value gapstop losssmart money conceptsforex tradingGBPUSDEURUSDprice action

Get More with the SozAI App

Transcribe recordings, audio files, and YouTube videos — with AI summaries and speaker detection. 30 minutes free.

Or transcribe another YouTube video here →