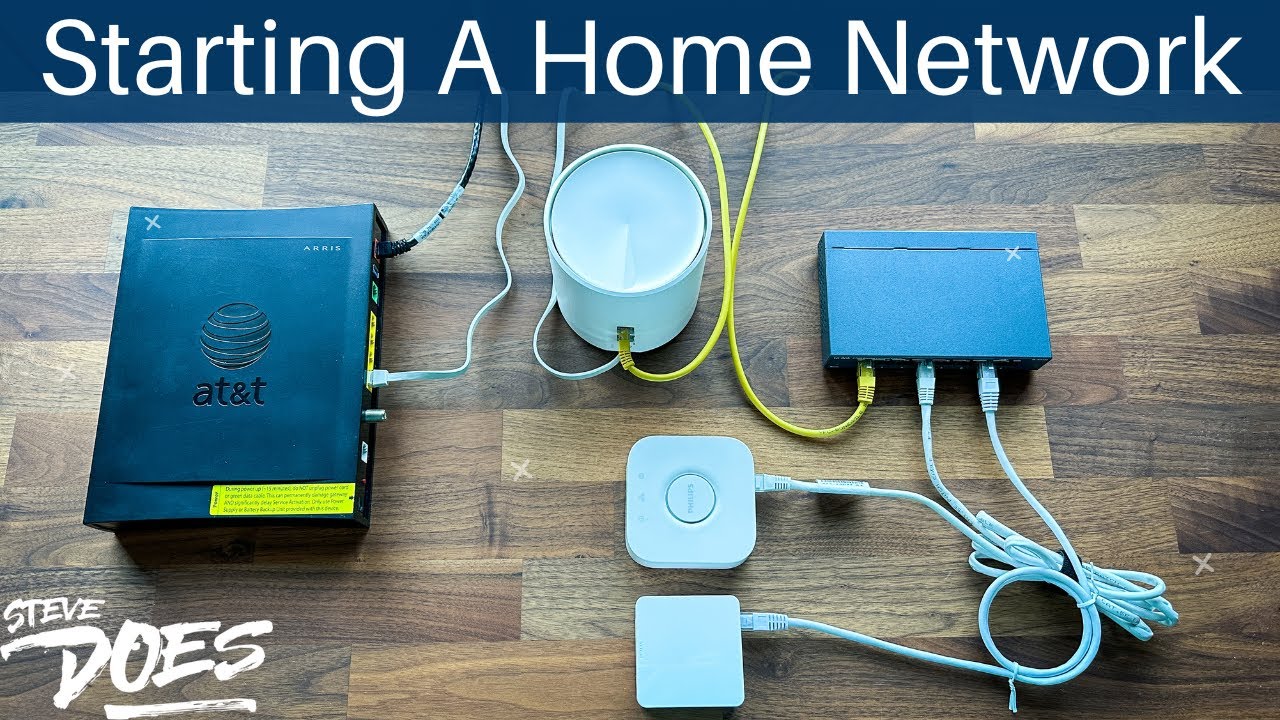
Learn creative ways to repurpose your old Wi-Fi router, including converting it into a network switch or wireless access point to extend your home network.
Ask about this video. Answers come from its transcript only — with the timestamp, so you can check them.
Generated from the transcript and can be wrong — check the timestamp.
Key Takeaways
- Old routers can be effectively reused to extend network functionality.
- Disabling DHCP on the secondary router is critical to avoid IP conflicts.
- Assigning a fixed IP address to the reused router ensures stable network integration.
- Using an old router as a switch or access point can improve home network coverage.
- Repurposing tech devices contributes to sustainability by reducing e-waste.
What the video covers
- Old Wi-Fi routers can be reused instead of discarded by assigning them new functions.
- One practical reuse is converting an old router into a network switch to expand Ethernet ports.
- The process involves disabling DHCP on the old router and assigning it a static IP address.
- Turning off the old router’s Wi-Fi broadcasts prevents interference with the main router.
- The old router can also be configured as a wireless access point to extend Wi-Fi coverage.
- Using the same or different SSID for the access point affects how devices connect and roam.
- The video demonstrates step-by-step login and configuration through router admin pages.
- Connecting the old router via Ethernet to the main router is essential for both setups.
- Additional uses include media bridge functionality for devices without built-in Wi-Fi.
- Repurposing old routers helps reduce electronic waste and saves money on additional equipment.
Chapters
- 00:00Introduction: Reusing Old Wi-Fi Routers
- 00:35Use Case 1: Convert Router into Network Switch
- 01:28Connecting and Logging into the Router
- 02:26Disabling DHCP and Assigning Static IP
- 04:17Configuring Router as a Switch
- 05:46Setting Up as a Wireless Access Point
- 06:57SSID Naming and Device Connection Tips
- 07:35Additional Uses and Final Tips
Full Transcript — Download SRT & Markdown
Speaker A
Wi-Fi tech moves fast. Every year there's a new standard: better speed, more range. But that doesn't mean that your old router is garbage. It just needs a new job. Think of it like an old phone. It can't run the latest apps, but
Speaker A
it can still play music. It can still take photos and even be a doorstop if all else fails. Well, in today's video we are going to be taking my old Wi-Fi router here, and we're going to be
Speaker A
showing you guys some other ways that you can use this so you don't have to throw it away. Let's get some more use out of our tech. So, with that said, let's start off with use number one. Our
Speaker A
first option is to convert our old router into a network switch. Let's say you buy a new mesh Wi-Fi router like this guy right here. If we take a look on the back, it only has two ports on
Speaker A
there. We've got one for our internet coming in and then we have two ports to plug things into. Now, if you don't have a lot of stuff, maybe a computer and maybe your TV that you want to plug
Speaker A
stuff into, then that's going to be fine. But if you need to plug more things into your router, then you are going to be in trouble. Now, utilizing something like a network switch, for example, we have got a 16 port switch
Speaker A
right here, allows us to use every single one of these to plug things into.
Speaker A
That is very helpful, but that's going to cost some extra money. Why don't we take our old Wi-Fi router right here?
Speaker A
We've got four ports sitting on the back here that are now unused that can be used as a switch. And to set this up is really easy to do. Let me show you.
Speaker A
First thing that we need to do is get logged into our new switch. So I am going to take an Ethernet cable from my laptop and we are going to plug it into the back of the switch. I'm going to
Speaker A
plug it into port number one right there. Then I want to take another networking port. This one is coming from my main internet. So my main router and this one is going to get plugged into my internet port. All right. So there we
Speaker A
go. We have got Ethernet from my main router coming in here. We have got the one going to my laptop going into port number one right there. But there's some configuration that we need to do. Let's jump over to the laptop. Okay, so here
Speaker A
on the laptop, I'm going to click on the start button. We're going to type in cmd for our command prompt. Hit enter. And then we're going to type in ipconfig.
Speaker A
Tap enter on there. And this is what's going to give us our default gateway.
Speaker A
So, we know what IP address this router right here is using. So, we know it's going to be 192.168.1.1.
Speaker A
So, here in Google, I'm going to type that in. So, we've got 192.168.1.1.
Speaker A
I'm going to hit enter. And that is going to bring us into the administrator settings of our router. Now, most likely you'll see a login page. I have already logged in. Default is usually admin for the username, admin for the password. If
Speaker A
you're not sure, you can look on the bottom of your device. Sometimes it'll say on there or you can go plug in the model number into Google and ask what the default username and passwords are.
Speaker A
But for me, I am in right now. The thing that we want to do on here is that we want to turn off our DHCP server. So this is the feature that actually hands out IP addresses to your devices. Now
Speaker A
this is something that the main router in our house is going to be doing. We don't need a child device like this
Speaker A
also handing out IP addresses because that's just going to mess everything up. So from here we are going to disable this feature. Scroll down and we're going to save this setting. We'll click on continue. So the next thing we need
Speaker A
to do is we need to give our secondary router here a dedicated IP address. Now what we're going to need to do is log into our main router. Now I'm going to load up a new page. And for this one I need
Speaker A
to type in the address of my main router. So 10.0.0.1, and this will get me into my Netgear that I'm using as my main setup. We will log in there. From here I'm going to go to advanced. I believe it's setup
Speaker A
and LAN setup. And then down here we can see we already have some other things that are reserved IP or addresses that have reservation. So I'm going to click on add a new reservation. And now I need to find my device. Hopefully it's here.
Speaker A
Let's sort by name. I think I'm looking for... Here we go. Lynxis right here. So here is my device. I'm going to go ahead and highlight this one. Now, if I scroll all the way down to the bottom, we see
Speaker A
that I can assign it an IP address. It's got the MAC address already in there and the device name. So, we can assign it anything that is going to be from the number one all the way up to the number
Speaker A
254. So, what I'm going to do is I'm going to put it on the higher end here.
Speaker A
Something that'll probably never get used. I'm just going to do 231 here. That all looks good. And then up on the top, I'm going to click on add. And now we can see here that this one is added
Speaker A
with the address of 231 for Lynxis. Okay. So, now that you've disabled DHCP I recommend going up to our wireless settings right here and just turning off our different modes. So, I don't want it broadcasting any additional wireless
Speaker A
stuff. So, we're just going to disable the 5 GHz. We're also going to disable the 2.4 GHz so that way we're not blasting Wi-Fi that we don't really need to. So, we're going to click on save settings here. Turn those off. Okay. So
Speaker A
now that we've got that configured, we now have a device that we can use these switch ports here on the back.
Speaker A
Internet's going to go into our internet one that you see right here. And then we've got the remaining four to use to plug any additional devices into. All right. Now that we have made these changes, I want to go ahead and take the
Speaker A
Ethernet cable out of my internet or my WAN port right here. Flip it around so you guys can see that. So, we're going to be taking it out of that port right there because it no longer serves as that.
Speaker A
It's now a part of our LAN or the remaining ports right here. So, I'm going to move this one from here over to any of the ports over here. We're going to plug it in there and we're going to
Speaker A
be good to go. Now, if you do want to use this wireless router as an access point, meaning that you can use it to extend your Wi-Fi coverage, now, it's not going to be the same as a mesh Wi-Fi
Speaker A
network. It's going to be a little bit different, and that is because it's going to act as its own Wi-Fi router meaning that devices are either going to be connected to this one or your main Wi-Fi. It's not going to be a mesh
Speaker A
system where you walk around the house and it's just going to connect to the one that has the best signal of. So there are a couple ways you can do this.
Speaker A
If we go ahead and take a look back here at the computer, we're going to go ahead and turn our Wi-Fi back on. So, we have these both back on, which we had disabled before.
Speaker A
We'll go ahead and save that. And now we can either name it the same name as our current home network with the same password or you can give it its own username and password. Now, giving it the same SSID and password as your
Speaker A
main setup may seem helpful, but you're not going to really know which network you're on. And with most mobile devices once they lock in and log into one of your Wi-Fi systems, they are going to stay on that one at all costs. Meaning
Speaker A
that even if you're right next to, say, the newer, nicer main router, your device may still be connected to the one that's across the house. So, personally I recommend giving it a different name so that way you know which network you
Speaker A
are on, but that is how you would set it up as a wireless access point. You do still want to leave the DHCP turned off.
Speaker A
So, make sure that that is still disabled right there. You're going to connect this one via an Ethernet cable like we had before. So, the Ethernet cable is going to go from this device to the main router. And then this is going
Speaker A
to allow you to essentially eliminate any dead spots that you may have in your...
Speaker A
as a guest Wi-Fi network. This way, if you have to give out your username and password, it's not going to be on your main, network,, so, it, is, going to, be, a, lot safer. Another option is using it as a
Speaker A
media bridge. Essentially, what this is going to do is allow you to take old devices that don't have Wi-Fi built into them, plug them into a device like this and then let this secondary router connect wirelessly to your main setup
Speaker A
giving it access to the internet and streaming and all that good stuff. Another option is maybe setting up a parental control router, turning on all of the parental controls on here, really locking it down, and then maybe using it
Speaker A
for your kids devices to connect to so it is fully locked down and parent protected. A couple other options is setting it up as a DIYVPN router or even using it as a testing sandbox. So you can install custom firmwares on here
Speaker A
like open wart or anything like that and just kind of play around with it and worst case scenario you mess it up and you break it and then you can get rid of it., But, at least, it, gives, you, a, fun, way
Speaker A
to use it without it collecting dust. Look, tech doesn't have to go to waste.
Speaker A
That old router, it's not just a relic from the Wi-Fi dark ages. It's a power tool, a network ninja. Give it a second chance. And now that you've given it a new job, you are not just saving money
Speaker A
you are also saving the planet, one less e-waste brick at a time. This is video four of the networking series. I recommend you guys checking out the full playlist, which I will leave right here for you. If this video was helpful, give
Speaker A
it a thumbs up. Let me know that you liked it. As always, don't forget to subscribe for more content like this and I'll see you guys in the next video.
Speaker A
[Music] [Applause] [Music]
Topics:old Wi-Fi routernetwork switchwireless access pointrouter configurationDHCP disablehome networkextend Wi-Fi coveragemesh Wi-Fi alternativeelectronic wastetech reuse