Aolani Studios builds a unique arched door with walnut jamb and ripple cut panel, facing multiple challenges and sharing woodworking tips.
Key Takeaways
- Building complex arched doors requires careful planning and multiple woodworking techniques.
- Using a timber skin over bendy ply can preserve continuous grain in curved woodwork.
- Intentional imperfections like ripple cuts can add unique texture and character to wood projects.
- Safety is critical when working with dense hardwoods and power tools, especially during challenging cuts.
- Client preferences and maintenance commitments influence material choices in custom joinery.
What the video covers
- The video documents the challenging build of an arched door featuring a walnut jamb and a ripple cut floating panel.
- The creator encounters multiple issues including router bit slipping, kickback, and a loose router bit.
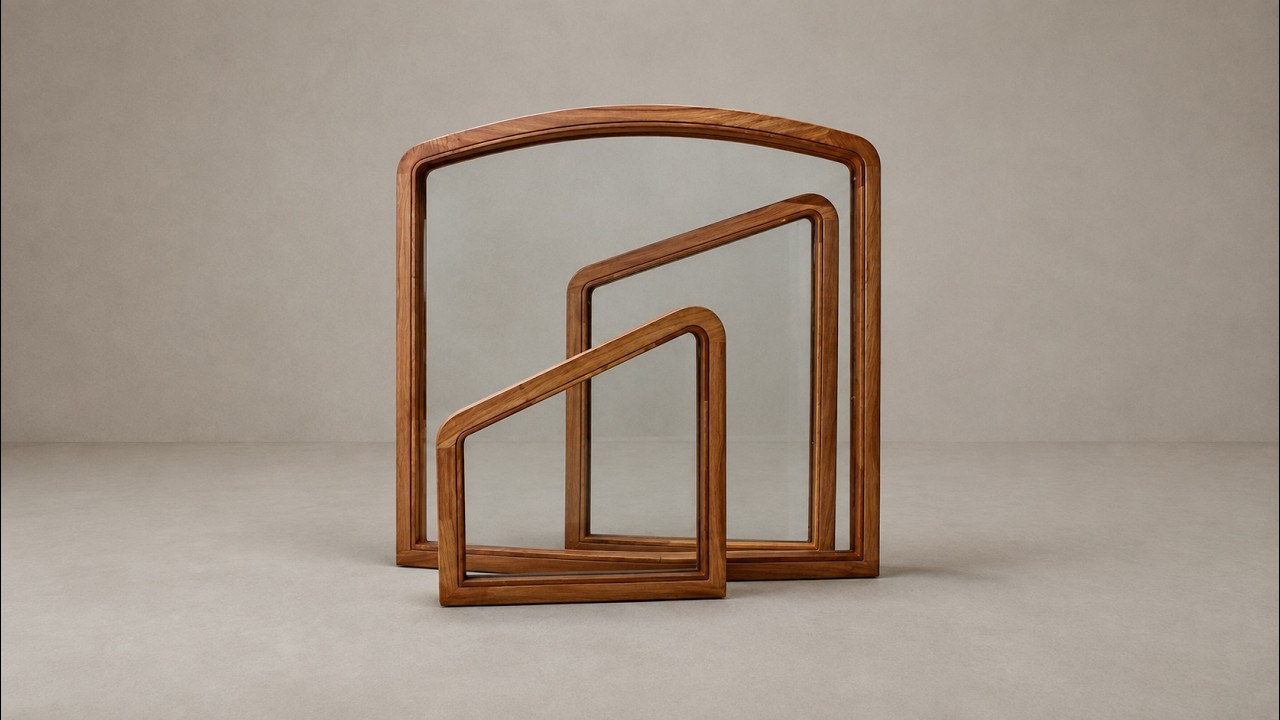
- Two arch construction methods are discussed: laminated segments versus timber skin over marine bendy ply, with the latter chosen for continuous grain.
- The ripple cut effect on the floating panel is intentionally created using a blunt bandsaw blade to add texture.
- The door jamb is built with a walnut skin glued over layers of bendy ply and trimmed to final shape after clamping.
- Safety concerns arise during a difficult router cut on dense blackbutt wood with interlocking grain.
- The video addresses the practicality of using walnut for external joinery and the client's commitment to maintenance.
- Several off-camera steps include fitting the floating panel, drilling drainage holes, and finishing processes.
- The creator shares woodworking tips such as using CA glue for easier glue-ups and managing clamping pressure.
- Despite multiple setbacks, the build progresses with detailed explanations and woodworking insights.
Chapters
- 00:00Introduction and initial mistakes
- 00:14Project overview: arched door design
- 00:27Making the arch template
- 00:50Routing and bandsaw cutting process
- 01:48Methods for making the arch
- 02:10Choosing timber skin over bendy ply
- 03:17Cutting and gluing walnut edge segments
- 04:25Creating the ripple cut floating panel
- 06:04Clamping and shaping the door arch
- 07:10Safety concerns and router bit issues
Full Transcript — Download SRT & Markdown
Speaker A
How you going? I don't normally make this many mistakes on a build, but this door apparently had other plans.
Speaker A
I had router bit slipping, kickback, and somehow, amongst all of that, I was trying to make this.
Speaker A
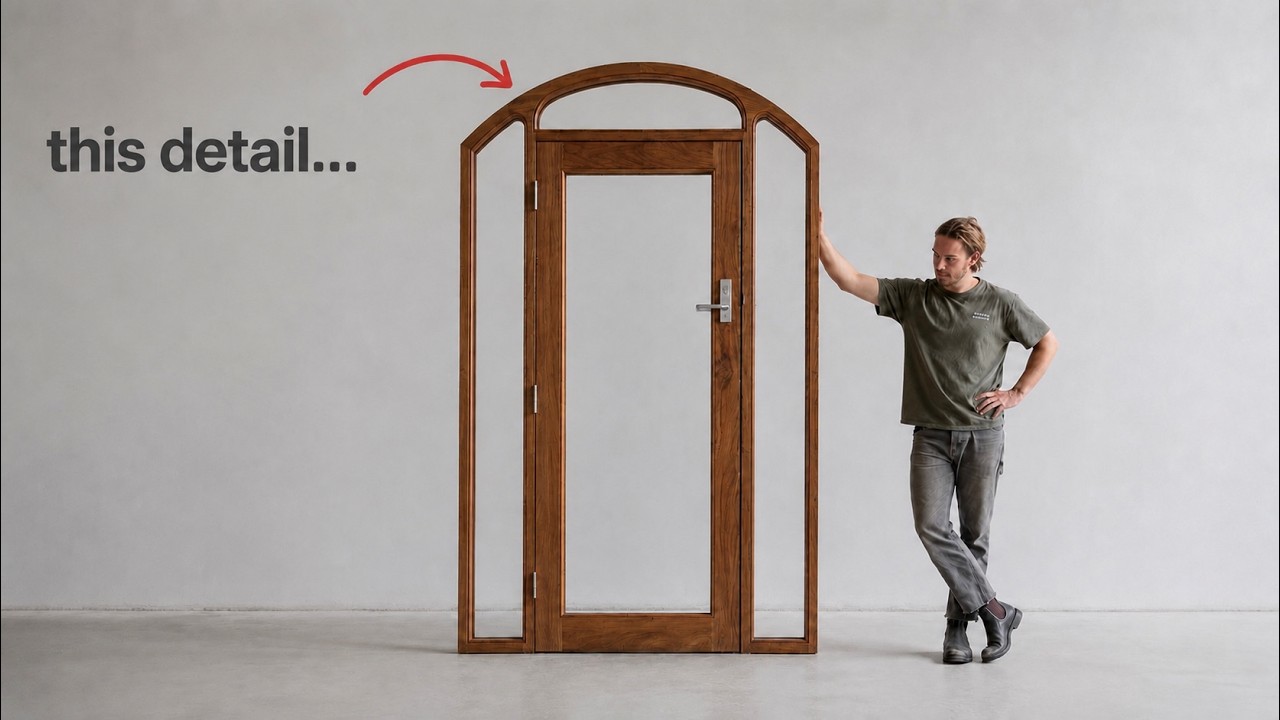
An arched door with a walnut jamb and a pretty unique ripple cut floating panel.
Speaker A
But weirdly enough, the part I thought would be the most difficult wasn't actually the problem.
Speaker A
So, to start, I'm going to make the arch template. I'm using this small 2 mm straight bit to mark out both the jamb and door rail templates in one hit.
Speaker A
And we're already off to a great start. I've actually never had a router bit completely come loose before. This was the first time, and I got it on camera.
Speaker A
So, already my case for calling myself a professional is being tested. After taking about a 4 mm pass, I can move over to the bandsaw and cut most of the excess, then clean it up with a flush trim bit.
Speaker A
And after a fairly heavy pass with the butt clincher to make the form, you'll see what this is for in a second, I can start on the curved arch itself.
Speaker A
Now, there are a few ways to make an arch like this, and unfortunately, they all involve a fair bit of glue, and none of them are particularly easy.
Speaker A
I usually go between two methods. One is stacking laminated segments like this. It's probably the more solid option, but you lose that continuous grain through the curve.
Speaker A
So, for this one, the client and I went for a timber skin over layers of marine bendy ply.
Speaker A
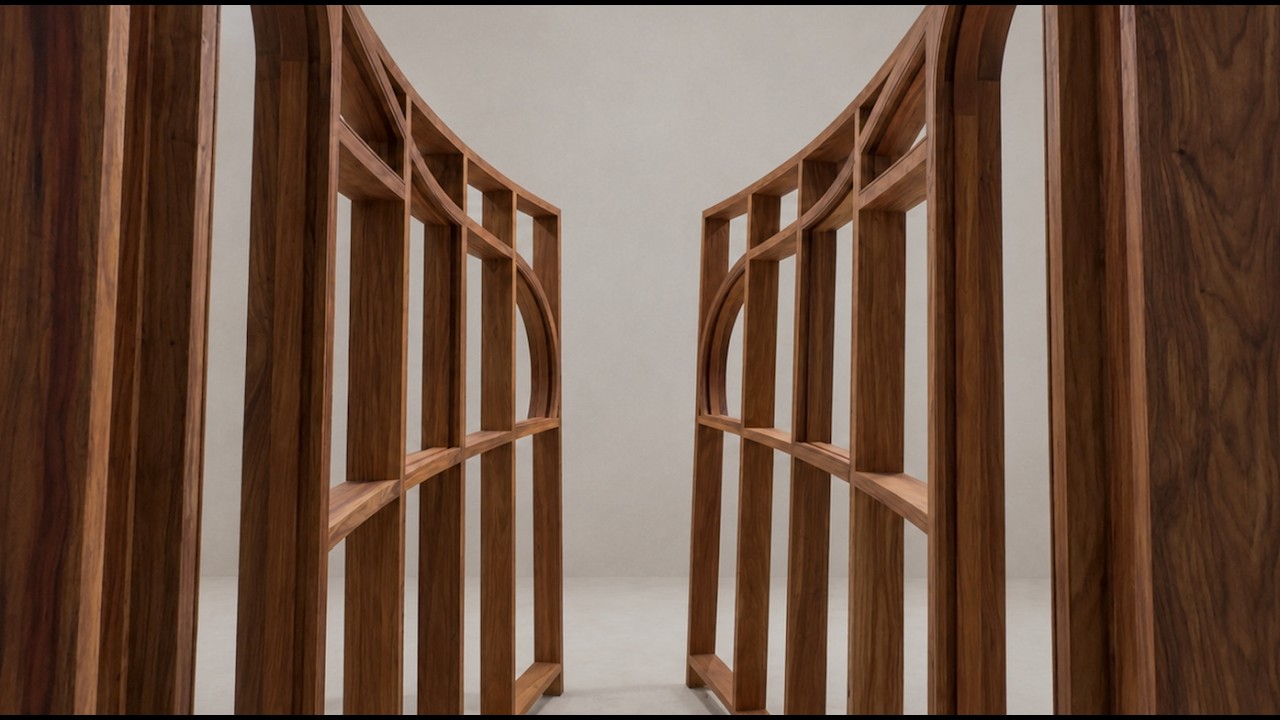
All glued into shape around the form, which should give us a much cleaner continuous grain through the arch, assuming it actually works.
Speaker A
Next, I'm going to move on to cutting some 10 mm walnut for the edge.
Speaker A
This will get trimmed back before I lay the full-size skin over the top, locking everything together.
Speaker A
And a little tip here, I'm going to use some CA glue to glue the little segments together first, which will just make the actual glue-up a whole lot less painful.
Speaker A
So, moving on to the floating door panel, like I mentioned earlier, we're going for a ripple cut look.
Speaker A
Now, I think this gives the door a really nice bit of texture, although I wasn't completely convinced this was actually going to work.
Speaker A
Basically, my idea was to fit a slightly blunt bandsaw blade because I didn't want a perfectly clean cut. I actually wanted the blade to wander a little.
Speaker A
And with it tracking left and right, we should get that little ripple effect that we're looking for.
Speaker A
And I know the saying, the difference between a good woodworker and a great woodworker is how well you can hide or fix your mistakes.
Speaker A
But this isn't actually a mistake I'm trying to fix. We wanted this ripple cut. Just for those of you thinking maybe I turned a mistake into a feature.
Speaker A
And now that that's out of the bag, I'm just cleaning up some of the excess glue with a card scraper.
Speaker A
And apparently, I decided I hadn't made enough work for myself yet. I'll deal with that later with a bit of steam and sandpaper.
Speaker A
All right, with the curved jamb coming along, I can finally make some progress on the arch for the door leaf.
Speaker A
I've oversized this section slightly, so I've got plenty of room to apply clamping pressure.
Speaker A
Then I can trim everything back to the final shape with a template once the glue is dry.
Speaker A
And while that's setting up, I'm going to work on the arch door stop, which yet again means making another form.
Speaker A
Because I'll be using some bent lamination to make it. All right, jumping back to the door arch, the glue's dry now and it's time to trim everything to size. But not [clears throat] before experiencing probably the most terrifying moment of
Speaker A
this entire build. Yeah, buddy. Let's sit down after that one. Okay, I'm going to level with you here.
Speaker A
There are safer ways to make that pass. For starters, it was probably a bit ambitious, but I do this most days of the week.
Speaker A
I think the main take-home here is I tried entering while cutting up the grain. And because this is blackbutt, which is an incredibly dense wood with an interlocking grain, the router bit was having none of it.
Speaker A
Now, let's watch me second-guess this cut because it's not like I've only got one shot at it.
Speaker A
And yes, let's address the elephant in the room. The jamb has suddenly grown its walnut skin.
Speaker A
Sorry, I forgot to film it, but to be fair, I think you've seen enough vacuum bag action for one video.
Speaker A
Now, I think some of the beauty of doing doors and windows after making chairs, for example, is you can just zip screws into it because most of the time over 50% of it is just hidden within a wall.
Speaker A
And it does make my job a hell of a lot easier. Like, it'd be great if I could just throw a 100 mil bugle through a chair joint, but no one's going to pay for that.
Speaker A
Also, let's address that walnut really isn't an optimal timber for external joinery. I did tell the client this, but they're fully committed to a maintenance schedule to keep this spotless.
Speaker A
Also, I don't make the decisions at the end of the day, and I definitely don't bite the hand that feeds me.
Speaker A
I genuinely don't know why I stopped filming past this point, so through the magic of editing, the door styles now exist, the rebates are cut, and we can move straight on to slotting the floating panel.
Speaker A
And off camera, this took a bit of action with the hand plane to shave the edges of the panel to make a good fit.
Speaker A
Also, off camera, I drilled a few holes through the bottom rebate out the bottom rail to help drain any water that could find itself running down the door.
Speaker A
Now, thankfully, this one will virtually never see rain with a large veranda in front of it, but you can never be too sure.
Speaker A
And in case there weren't enough holes in this filming already, I didn't record the finishing process. So, here is me oiling something completely unrelated to keep the story moving.
Speaker A
[music] [music] [music] [music] [music]
Topics:woodworkingarched doorwalnut jambripple cutfloating panelbendy plyrouter bitwood joinerydoor buildingwoodworking tips


![[YTP] JORDAN’S LAST STAND (SUPERCUT) — Transcript](https://i.ytimg.com/vi/ioyaZ39gV5I/maxresdefault.jpg)