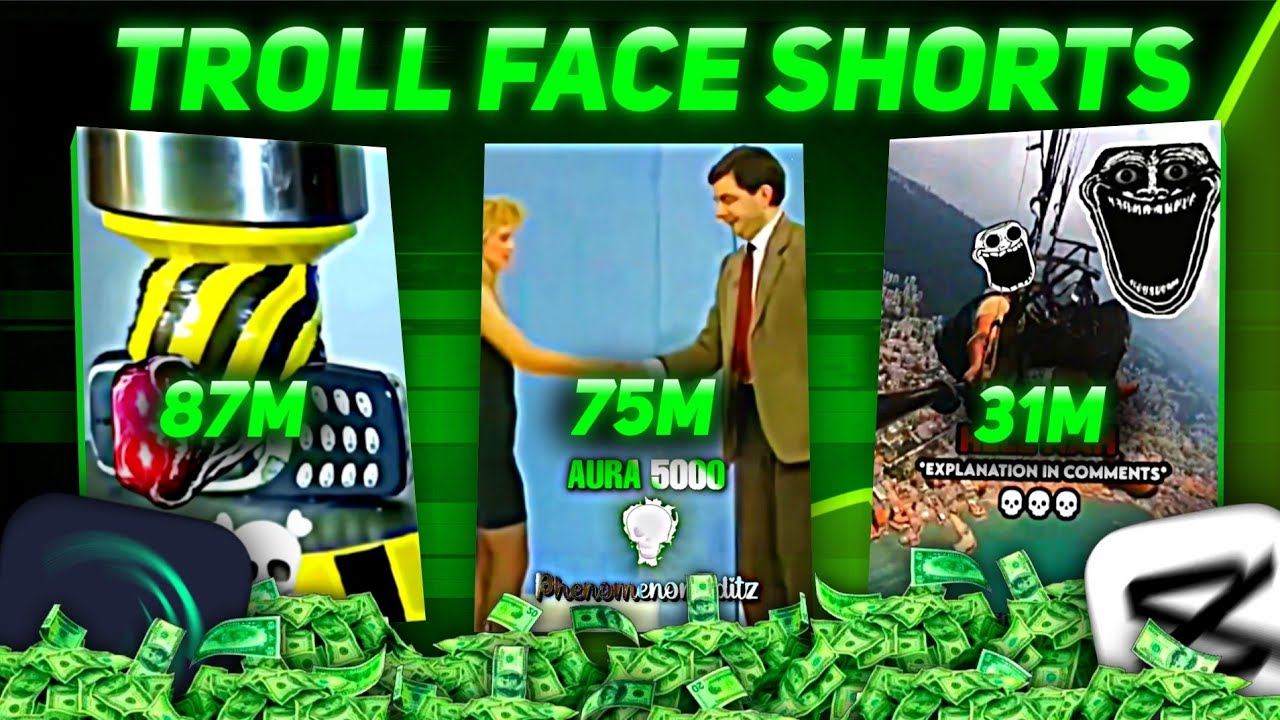
Learn how to create viral troll face shorts on mobile from basic to advanced editing, including clip sourcing, quality enhancement, and viral effects.
Key Takeaways
- Elite Motion is preferred over CapCut for troll face shorts editing due to fewer export issues and better effect compatibility.
- Downloading quality troll face clips and enhancing them with tools like PixArt is crucial for viral success.
- Participating in the free troll face editing competition can help showcase talent and gain promotion.
- Using templates, XML files, and proper audio syncing significantly improves video quality and virality.
- Consistent creativity and skill improvement are key factors for faster growth on YouTube.
What the video covers
- Introduction to the popularity and monetization potential of troll face shorts on YouTube.
- Step-by-step guide on where to download troll face clips and how to improve their quality.
- Explanation of why CapCut is not ideal for troll face editing and introduction to Elite Motion for better results.
- Details on importing XML files and using templates in Elite Motion for viral effects.
- Instructions on syncing audio and video clips, including muting original audio and adding viral beats.
- Using PixArt for cropping and enhancing screenshots to improve visual quality.
- Adding shapes, warnings, and text effects to enhance the video presentation.
- Encouragement to join Telegram channels for additional resources and participation in a free troll face editing competition with prizes.
- Tips on creativity and skill development to grow faster on YouTube.
- Sharing personal experiences about channel growth, monetization, and handling reused content issues.
Chapters
- 00:00Introduction and Viral Potential of Troll Face Shorts
- 01:06Troll Face Editing Competition and Prizes
- 03:23Why CapCut is Not Ideal for Troll Face Editing
- 04:32Resources and Telegram Channels for Materials
- 05:37Starting the Editing Process in Elite Motion
- 06:44Using PixArt for Screenshot Enhancement
- 07:53Adding Warning Effects and Copy-Paste Techniques
- 08:49Adding Text Effects and Creative Tips
- 12:04Additional Effects and Encouragement for Creativity
- 13:05Personal Experience with Channel Growth and Monetization
Full Transcript — Download SRT & Markdown
Speaker A
Brother, have you noticed that nowadays many channels on YouTube are earning millions of views and millions of money just by uploading troll face shots? Now, do you also want to do the same? But don't worry because in this video I
Speaker A
am going to teach you how to make troll face shots. I will also tell you from where to download troll face clips, how to improve its quality, and how to make this viral effect. So if you also want to go viral, then definitely watch this video till the end. Now
Speaker A
there are many such channels on YouTube which are gaining subscribers in millions by just uploading troll face shots, and you are just getting worried thinking that brother, how to make troll face shots, where to find troll face clips,
Speaker A
how to improve its quality, and how to make this type of viral effect, and there will be many more questions in your mind. So there is no need to worry, my brother, because in today's video I will teach you to edit troll face shots from the very basics
Speaker A
to the advanced level, and along with this, I will also tell you two ways to find troll face clips. I will tell you something which you will not find anywhere else on YouTube, and yes, in this video there is a troll face earning competition in which you
Speaker A
can participate and show your talent, and I and my team will choose three winners together, in which the first winner will get a prize of ₹1000 from me, and I will promote the second and third winner in my next video. And talking about the entry fee,
Speaker A
initially, I was thinking of keeping it paid, but then I thought, how rich will I become by taking money from all of you? That's why I have kept it absolutely free. That's why you can participate easily, but I have a small request to you guys that
Speaker A
my brothers, whenever I upload a sponsored video, you guys should give it as much love as possible so that it can also get a lot of views. And I have told in the description how to participate in the competition, so
Speaker A
learn editing well ahead and then participate in the competition. And yes, along with this, join my Telegram channel also because I will post all the announcements. Important step to create a troll face source is to download the troll face clip, for which I
Speaker A
will tell you two methods, and because this is a very important step, I will tell this step a little later. So after downloading the troll face clip, we have to do editing. And look, brother, it is bitter but true, all the creators on YouTube who
Speaker A
are teaching you troll face editing in CapCut are fooling you. Well, because look, brother, first of all, there is a different hassle of VPA in CapCut. Sometimes even if you edit the video, it does not get exported, and on top of that, if any troll face creator
Speaker A
gives you his XML file of viral effect to use, which of course everyone gives, then you will not be able to access it because you do not have Elite Motion. And if you search for the same effect for CapCut, then there are 90% chances that you will not find it,
Speaker A
but even if you find it, then it will be a low quality green screen video, using which you will never be able to go viral. And I just want to say that for the rest of the intelligent, a hint is enough. Also, some people say that troll face channel
Speaker A
if it is not monetized, then I will talk to those people a little later because today I have come with proof. But my brother, before getting happy, learn editing well. Well, before starting editing, I have given the drive link of all the necessary materials for you guys in the description, but the main credit of this pack goes
Speaker A
to the host Skeleton Bhai, who has designed this pack with so much hard work. So thank you so much, Skeleton Bhai. I have given the link of his video in the description. If you want, you can watch it. Well, not only this, you also have to join my Telegram channel
Speaker A
because there also I keep giving you a lot of materials, and here whatever you ask for, you will get it in just a second. But if you want a lot of materials for troll face, then you have to join Skeleton Bhai's channel
Speaker A
because here you will get to see all those things which will definitely help you a lot, like forms, troll face pages, extra. So well, now to start editing, so first of all, you have to join Elite Motion on my Telegram channel. Install it from the channel
Speaker A
and open it. Then from the right side corner, go to the template page. Then here you will get the option to import the XML file, and at the same time, if you have ever imported an XML file before, then you will also see that here,
Speaker A
but for now, click on the upload button and choose any XML file from here, and you will directly come to that project. Well, it will not always be so simple because while importing some XML files, you will see some such interface.
Speaker A
So nothing much, just click on this replace button and select a random photo from your gallery and click on the next button, and this problem of yours will also be solved. Well, with this process, you have to import all the XML files
Speaker A
because it will help us a lot in our workflow. So now our real work starts. So click on the plus icon. Then here you have to select 9:16 because of course we are making shots. Then ignore all these and create. Click on the project and from here our editing
Speaker A
starts. So click on the plus icon, then come to the media and choose your clip. Then again, similarly, you have to go to the audio and add the form as well, which you can take from Skeleton Bhai's group or you can
Speaker A
also download the audio of any viral short and use it. Well, here we have to mute this clip, for which click on it and click on the volume button and make it zero. Then come back and drag this audio below the clip. Now, now we have to see
Speaker A
from where the beat is coming on the phone. Then after going there, you have to click on the timeline, due to which a pink line will come here, which you can go with the help of this arrow. Now we
Speaker A
have to bring the top moment of this clip near this line so that it will relate well to the phone. So for this, we will increase the speed of this video a little. Then after coming back, I will remove the rest of the part from this option so that we can edit it properly.
Speaker A
Then you will see it. You have to take a screenshot and at the same time open it in PixArt. If not, then download it from my Telegram and then come here and select crop from the tool and crop it properly. Then
Speaker A
click on the remove BG option, which will remove the background of this photo as you can see. Well, now go to the tool again and select AI enhance. This will improve the quality of our photo. Then now I download it and come back
Speaker A
to Elite Motion, and here first of all you have to add the screenshot and place it in the right position, and then go to it and remove the useless part and similarly adjust that PixArt photo whose background we
Speaker A
had removed some time ago. Then now we will add a square shape from the plus icon and adjust it properly, and remember we have to keep all the elements and text inside its area. Then here you will see an i button, so click on it and hide it.
Speaker A
And now we will add a warning, which is very important. So come back, and here you have to find a project with the name of warning. If you have imported its XML file, then you will definitely find it. Well, you
Speaker A
can see how many warning effects are there here, and I personally liked this one very much, so I will click on it. Then look carefully, my brother, you have to click on this option and then click on copy layer. Then go back to your
Speaker A
coming to the project, you have to click on the same option and then click on paste layer.
Speaker A
Well, remember this method because it will be very useful. So now adjust its size and position properly. Now come to this line because we are going to do our main editing after this. So again, coming back, you have to find the red
Speaker A
background. And here we have to copy multiple elements. So for this, you have to press and hold the i button. Then select three elements from the top and copy them from the same option. Then coming to your project, you
Speaker A
have to go to that line.
Speaker A
bring them below the photo whose background we had removed. Well, now we will add text to it. So again, coming back, find the text pack. And my brother, there are many text effects here too which you can use, but for now I will use them
Speaker A
in place of this. I will use Adi Bhai's text, so I have come to his project and I was talking about this text, as you can see, the emoji is also animating in it, which is really amazing, so from here I will copy it and paste it in my project
Speaker A
and adjust it properly, then click on it and click on the edit group, then choose the text and type it according to the clip from Adi Text, like in my case I have written this and similarly related to this you
Speaker A
also have to choose an emoji, I already had it, so I have skipped it and I will make it a little bigger and similarly you have to add two to three texts according to the clip and you can also change the color of its text,
Speaker A
just for this, click on the text and come to the effect and choose Fractal Regions and scroll down, then here you will see the option to choose the color, well this is about the text, now we edit the last part, which
Speaker A
is the most important, so for this we need some elements So come back to the stuff project, there are a lot of effects here as well. I personally liked this warning one, so I will copy and paste it in my project. And
Speaker A
I will bring it below that photo and adjust it properly. Wait, something is still missing. I guess we have not added aura. So again come back to the aura project. And choose a good aura effect. I like this one. So
Speaker A
click on its second layer and click on effects. Then click on copy all effects from the three dots.
Speaker A
Then come back to your project again and make a duplicate of that image. And go to the effects of the image that is behind and paste it. You can see how cool it looks. Well, now from here we will add a skull png. Then I
Speaker A
will rotate it at 90°. And then I will make an entry animation here, for which I will add a key frame here. And going a little back, I will drag it inwards. Then I will choose this graph from the graph icon. And you can see. This looks really cool.
Speaker A
Similarly, now I will copy and paste some more effects. You have to keep one thing in mind brother. The more you use your skills and creativity, the faster you will grow. Well, now what I am going to do, you
Speaker A
have to look at it very carefully. So first of all, you have to unhide this shape. Of course, click on the i button and then drag it to the top. And then select all the elements. Just leave this audio and click on this second one from the top.
Speaker A
Now this will become a group and it is now ready. Just to give it a good taste, we will add CC effect and compress effect to it. So go to that line and click on this middle option and split it. Then come back and find
Speaker A
the compress project and boom. There are a lot of compress effects here too. I will just copy the effect of this second one and then come to my project and paste it in this second one. But this is showing in the whole screen. So it has to be cropped.
Speaker A
So again one Take the square shape and I will adjust it nicely and after selecting both of them I will group them with the same option and now this is correct and if your phone lags then you can export it from here and later come back and
Speaker A
add the CC effect but I am going to add the CC effect on top of it by trusting God so come back and find the CC pack and here also there are a lot of options just whichever you like
Speaker A
If you like, choose all its elements and copy and paste them in your project and adjust it properly and drag it to the end of the video. Now just adding a watermark is left and then our video will be complete. Adding a watermark
Speaker A
will create the branding of your channel. That's why you have to type your channel's name in the watermark and place it in a good position so that everyone can see it. And just export it. That's it my brother. Well, this was the whole editing process.
Speaker A
Similarly, you also have to do next level editing by using your creativity so that you can also win the competition. But for editing, you will need a clip, so from where to download the troll face clip, now I will tell you about it.
Speaker A
And do not miss this step at all because without a clip the video will not be made. So there are two methods to find the troll face clip, in which the first method is a bit complicated but with this your channel will be 100% monetized. Well, for this you
Speaker A
have to come to my Insta ID from the description link and then follow me.
Speaker A
After that you have to go to my following where you will find the pages of some role faces, so follow them and in their pages you have to open any viral reel and take its screenshot, then you have to come to Google Lens and
Speaker A
choose that screenshot there and here you have to click on the visual match option, now here you will get that original clip, so you can download it from here and you can follow these same steps in tiktok as well, well this is
Speaker A
for hardworking people but if you do not want to work so hard then there is a second method for you in which you just have to join some telegram groups and discord server, there you will get a lot of clips daily but my brother it is possible that
Speaker A
your channel may not get monetized with this method because a lot of people will pick up clips from the same place and upload them, then YouTube will think that everyone is copying and pasting and it is possible that they
Speaker A
give reused content on everyone's channel and you will not believe that something like this happened with this YouTube channel of mine I had grown and monetized in just 30 days, but one day suddenly reused content came on my channel, well I have appealed and
Speaker A
I hope that my channel will be monetized and I am thinking of making a 30 days challenge video in which I will tell you all the strategies with the help of which I have grown my channel very fast, but you will have to help me in this,
Speaker A
nothing much, you just have to comment 30 days challenge, so that I will know that you are waiting for it and I will get this motivation to make this video, now now we will learn to improve the quality of the video and
Speaker A
will also learn to create this type of viral effect and now I tell you an inside thing, all these troll face youtubers do not upload their videos directly after editing them as you do, they first enhance the quality of their videos, for which they
Speaker A
use Wink app, which you will get on my telegram channel, but to use its premium version, you have to connect Canada server in VPN Then you have to open the Wing app and click on the image quality option, then
Speaker A
click on Try Now and choose your video, then after some time your video will be ready, so save it, now that you have reached here, you can learn to make this viral effect as well, well you can see I have used some of the same elements in this as well
Speaker A
which I had used in the previous project, so now I will add elements in it which you will find in the stuffs project, so click on it and choose these two elements and copy them, then come and paste
Speaker A
them in your project, then adjust it properly, then click on it and keep the text as per your wish and I will copy all the effects of this text with three dots and paste it in this text and then select any one color from it as per your wish
Speaker A
that's it my brother and if we talk about the proof then see my brother all these troll face channels are monetized even I had also monetized this channel of mine as I had told in the video So if you are also going to create a troll face channel,
Speaker A
then you must watch this video of the seven days challenge because in this video I have explained the entire process from setting up the channel to uploading the troll face messages in great detail. So I will meet you there and I think this
Speaker A
video has become quite long but I am very tight in making it, so give a like.
Topics:troll face shortsviral shortsmobile video editingElite Motion tutorialYouTube growthCapCut alternativesPixArt editingYouTube monetizationtroll face clipsvideo editing competition