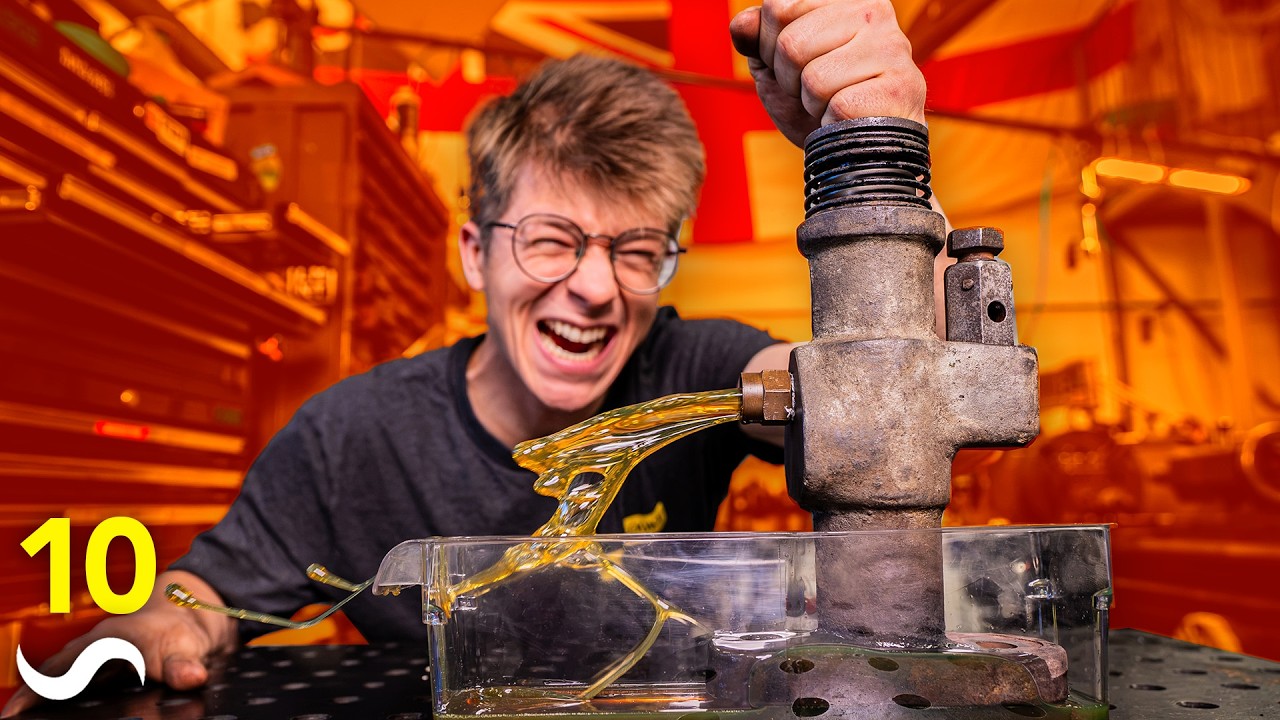
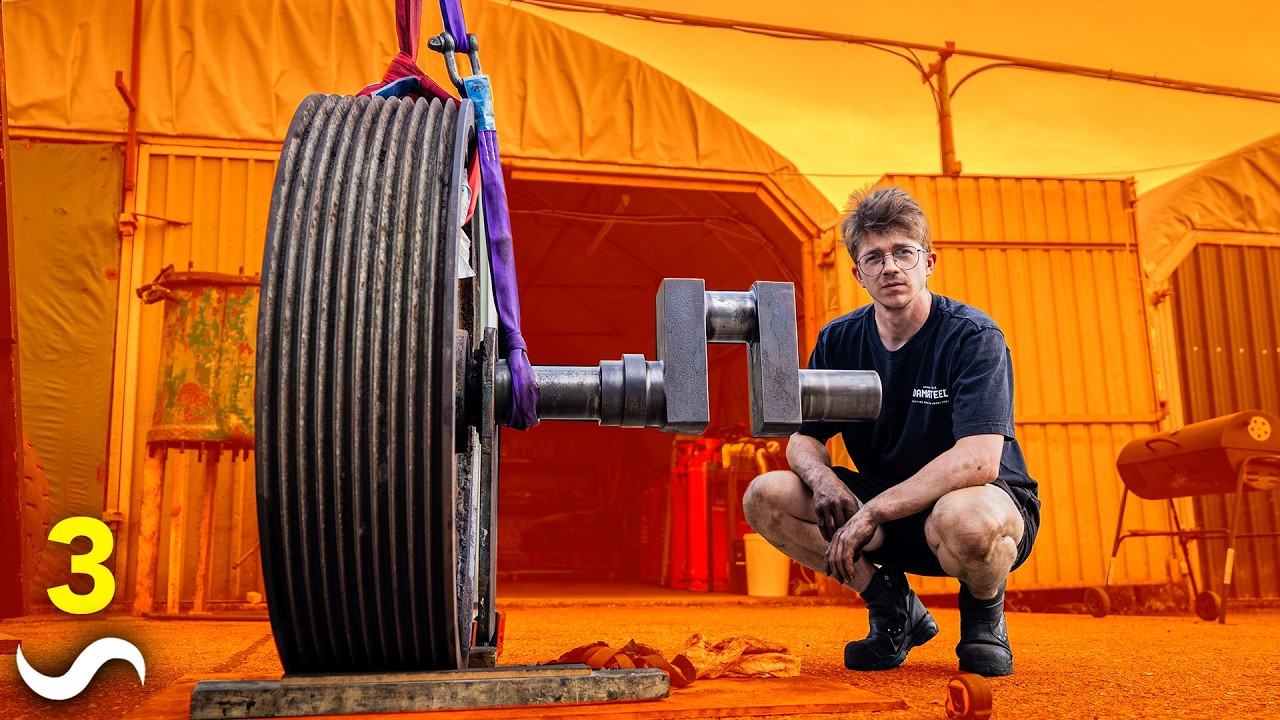
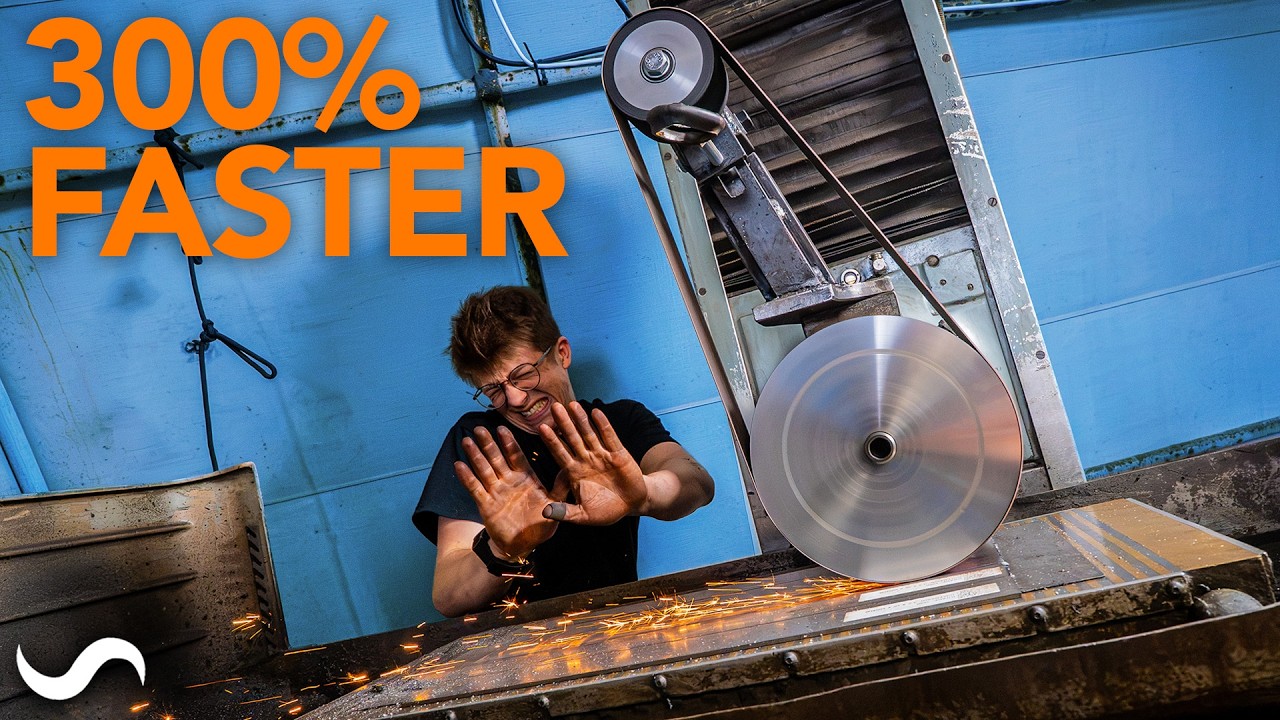
Alec Steele restores and installs a 500 weight Massie power hammer, focusing on foundation preparation, precise metalwork, and welding challenges.
Key Takeaways
- Precision in measurement and fabrication is critical to avoid costly rework in heavy industrial installations.
- Modern cordless tools like the Evolution chop saw can significantly improve workshop efficiency and safety.
- Hands-on adjustments and physical verification can be necessary even when detailed CAD plans exist.
- Welding skills can be learned with practice and encouragement, even by beginners.
- Awareness of online impersonation scams is important for content creators and viewers.
What the video covers
- Alec Steele continues the restoration and installation of his dream 500 weight Massie Clear Space power hammer.
- The video covers the preparation of the foundation including digging, casting floors and walls, and planning the final concrete pour.
- A crucial rectangular steel frame is fabricated to set hole centers for foundation bolts, requiring precise measurements and cutting.
- Alec introduces and demonstrates the use of a new cordless chop saw sponsored by Evolution, highlighting its efficiency and features.
- He emphasizes the importance of accuracy, using multiple tape measures and CAD drawings to avoid costly mistakes.
- Alec encounters and solves measurement challenges related to scribing and tool accuracy.
- He modifies his original plan for the anvil’s octagonal pocket based on physical measurements rather than CAD alone.
- Alec and a companion practice welding, with positive results and encouragement for first-time welders.
- The video includes warnings about online scams impersonating Alec and a preview of upcoming steps involving foundation bolt tubes.
- Overall, the video blends metal fabrication, welding, and concrete foundation work with practical problem-solving and tool reviews.
Chapters
- 00:00Introduction and project overview
- 00:55Steel preparation and measurement checks
- 02:11Cordless chop saw demonstration and tool features
- 03:13Ensuring squareness and accuracy in metalwork
- 04:39Challenges with scribing and measurement tools
- 05:40Adjusting plans and verifying anvil pocket placement
- 06:26Welding practice and teamwork
- 08:04Warnings about online scams and next steps
Full Transcript — Download SRT & Markdown
Speaker A
Welcome back. This is part six of restoring and installing my dream power hammer, 500 weight Massie Clear Space.
Speaker A
It's a proper industrial bit of kit that requires proper preparation to install. We had to dig an enormous hole, cast a floor, and yesterday we cast the walls.
Speaker A
The third and final pour is yet to come, but for that, we need to make a frame.
Speaker A
Let me show you how it's going to look. So, here are the walls that we have just cast. If we get rid of them, you'll see that our next pour of concrete is going to be sitting on our vibration
Speaker A
isolators. And within the concrete are cast these steel foundation bolt tubes and a pocket for this octagonal 2 and 1/2 ton anvil to sit in a good ways below the floor level. Otherwise, you wouldn't be able to get a heavy enough
Speaker A
anvil. And that's the reason these installations are so challenging. Everything that I fabricate today needs to be perfect because if it's not and the holes don't line up with the frame of the hammer, we're going to have about
Speaker A
15 tons of concrete to chip out in order to start again. Here's all my steel for it. Double check. No. Quintuple check all my measurements and we'll start cutting. All right, first step. This rectangular frame that sets our hole
Speaker A
centers. These are 7 and 1/2 m lengths. They are atrociously long. Bloody hell. I'm going to do all my cutting out here 'cause these are really long, but uh I don't have my extension cable. What am I to do other
Speaker A
than announce that today's sponsor is a company that I've been dreaming of working with for absolutely years.
Speaker A
Cordless? Yeah, it's cordless. What? Check this out. I've been using the Cordid Evolution chop saws for like 8 years. If I was starting a workshop from scratch, it would be the first tool that I bought. This is the new EXT Evolution
Speaker A
cordless line. I am very excited for this. Here we go. First cut. Oh, it's fabulous.
Speaker A
Completely cold. No burr either. Oh yeah. You have my new saw. Look at the power cable on it.
Speaker A
Oh, Bluetooth. Yeah. Magical. Oh, that's heavy. Almost zero heat, zero dust, significantly faster than a band saw. And not the absolute hell of using an abrasive cutting disc. Not only do I have two sets of foundation drawings to
Speaker A
go off my CAD model, the hammer that's out there, but I've got this plywood tracing of the frame of the hammer that's out there. This means I can sanity check absolutely everything 'cause if I get this wrong, I won't have any
Speaker A
sanity. I'm going to be so superstitious this whole way through this build. I'm even going to use a different tape measure to triple check. Perfect. Right.
Speaker A
Well, all the measurements are good across two different tape measures. The chop saw isn't all Evolution has just come out with.
Speaker A
Big fan of how it feels in the hand. That skinny little grip is great.
Speaker A
Feels good to be doing some metal work after all these weeks of groundwork and concrete.
Speaker A
Super. Pretty good. 2081. 2082. Oh no, I'm a millimeter out of square. All right. Now, I'm going to flip it once more.
Speaker A
Everything is looking good. These edges are lining up with the edges of the table and these pins for square. Not taking any chances here. This is the foundation upon everything that needs to be built. I want this fabulous. It's
Speaker A
going to suck if it's twisted. Couple more little stitches. The corners of this are all 50 mm proud of the foundation bolt holes, which means I can measure in 50 mm. Vroom center punch them up. Now, this would be
Speaker A
the perfect tool for it, like scribing it out, apart from the fact, check this out. See, the tube has a radius here, but that radius descends further than the edge of my set square. I actually can't get a reliable measurement, which
Speaker A
is a bit annoying. Got a little idea here. Got you down there. And then I can do this. Kaba. Perfect. Hopefully, this technique only works on the one corner.
Speaker A
I'm going to get a different tool. How about this one? Ah, yes. And we have a cosine problem 'cause I have to dip all the way down there, which shortens the angle. Hang on a second. How does it
Speaker A
know the orientation of the scribe in order to know what the actual measurement is? There is no way to be certain. No, there is. It's now got me really nervous about the accuracy of this tool. You'd think the fact that I
Speaker A
bought it on Teeu would suffice for nerves. Now I'm going to have to check it against something. Goodness gracious.
Speaker A
That's good. Now double check. 3 2 1. Does not look like it's in the right spot. Is that what you're bringing me about?
Speaker A
Yeah. Wait, you can even see from your side that that's not the right spot.
Speaker A
I need to look at the drawing again. Right, the octagon for our anvil is something that I could plan for now if I was being smart. But now that I have this nice square frame, I could completely ignore all the copious hours
Speaker A
I spent planning this in the computer and change things now that we're actually physically doing it. I am going to place my locating bars for our octagon and completely ignore the plan that I drew. Um, okay. If I do that,
Speaker A
what are the consequences? There are none. It's perfect. What? I found the problem. I'm just an idiot.
Speaker A
Good. That double check on paper. Good. 6 in 45 in. Let's do this. Mhm. That's going to be just right.
Speaker A
It's one of those fits where it only goes in when it's perfectly parallel. Pop one of those in.
Speaker A
I'm working like hybrid metric imperial today. It's great fun. The first set of drawings I got that were very kindly sent to me by John at Massy Forging, they were all imperial. That printed set has some imperial, some metric. My
Speaker A
drawing is imperial. All my material is metric. And you know, keeps me on my toes.
Speaker A
Wow, that looks like a really long way away. Something about those measurements does not look right.
Speaker A
Keep me on my toes. Finish welding that up in the morning. Well, it turns out I made what could have been a catastrophic mistake.
Speaker A
Keep me on my toes. These members that I tacked in place last night to support our octagon, I measured them, or rather positioned them off of the edge of our box section instead of from the whole center. If I
Speaker A
had not spotted this and we had cast the concrete with this mistake, I would have needed to chip out like 15 tons of the stuff and start all over again.
Speaker A
See if I can put them in the right place this time. Who knows? Nobody ever knows.
Speaker A
You want to try welding? Yeah. All right. First time welding? Yeah. You're going to do great. Kind of in the middle.
Speaker A
So, go for it. Keep going. Well, bloody hell. I think your first ever weld is better than my everyday welds.
Speaker A
Yeah, it's a really nice weld. That one there was all you. Well, you can just weld the rest of them then, please.
Speaker A
What if I mess it up? You're not gonna mess it up. Go for it. I panic.
Speaker A
Are you joking? That's phenomenal. You just fill that in and fill that in. Very nice. Next one.
Speaker A
I have to do it. Yeah. Putting you to weld. Amazing job. Just a tiny little hole, which I would have left anyway.
Speaker A
We weld. Nice. Outstanding. That was pretty good as well. Sure. I'm jealous. Now I need to see if I can do better. You know what I mean?
Speaker A
Wow. You're just saying that to make me feel good. Going to start looking like a road work crew. One person doing work and another person standing around and watching.
Speaker A
Thank you, my love. I watched a YouTube short. You watched a YouTube short. Definitely wasn't one of mine, was it?
Speaker A
No. That's 'cause I don't have YouTube shorts. And that's a great point. Be careful about scam pages impersonating me on the internet, guys. It's a dangerous world out there. Please be careful. So, we're going to take this frame, flip it
Speaker A
over, pop some holes in it for the hole centers. And once that's done, we can start working on the foundation bolt tubes. I'll explain what that is in a moment. This is how it'll work. I will take my bolt. I will drop it through the
Speaker A
hole. It'll sit there. Foundation tubes will screw onto it. Woohoo. Did I do a hoo-hoo?
Speaker A
Yeah. Yeah. I can't control it. I'll come up with something thoughtful 2 miles down the road here. All I've got to say is, "Yep, come on. Get
Speaker A
something profound to say. I want to be with you night and day. Um, I'm going to get this out the way. Then I have to get the forklift in here because a part of the foundation bolt assembly needs to be cut from this heavy
Speaker A
plate that is currently holding our concrete in place. I think the concrete set up enough that I can take some of the weight off. Um, but that plate is so big that I can't get it onto my plasma
Speaker A
cutter. And I can't open the door to my plasma cutter because some absolute ninkan poop decided to leave this barbecue right in front of the door.
Speaker A
There we go. my fingertip. So, I'll tell you how these big chunky plates play a role in our foundation in just a second. For now, I want to tell you about the first time that I ever used an Evolution chopsaw. It was as we
Speaker A
were setting up the Montana workshop and we had Jason from Fireball Tool come and visit and he brought with him an Evolution chopsaw and it was the first time I ever saw one in person and it was so awesome. Up until that point I was
Speaker A
using either abrasive chopsaws or band saws and so of course when I moved back from America to here one of the first tools I bought was an Evolution chopsaw.
Speaker A
Evolution absolutely changed the game for metal working when they came onto the scene and they're not stopping because as you've seen through this video they've launched their batterypowered range too having all the capability of that big chop saw now
Speaker A
cordless so you can bring it on site or move it around the workshop. The Sermit tip blades are just mind-blowing. The blades last a shockingly long time. I go through maybe two or three a year.
Speaker A
They've been independently tested to do 3500 plus cuts in 4in tube with an 8 in wall. They've also got blades for aluminium as well as stainless steel with their new 165 mm metal cutting circular saw. I can bring the cuts to
Speaker A
the workpiece. I've been really enjoying their new 125 mm angle grinder on this project. And check out their new cordless surface conditioning tool.
Speaker A
Variable speed. That's pretty slick. I'm so grateful that we've been able to have Evolution as a sponsor after all these years of using their products. I'm incredibly impressed with the new cordless tools they've come out with and I really hope
Speaker A
you check them out. There's a link in the description and go learn more about these tools and get some for yourselves.
Speaker A
Let's get back to it. So, what do these plates do? It goes like this. So, here is the base plate of the hammer. This is our bolt hole for bolting it to the concrete block. When these machines were
Speaker A
in very, very heavy use, it was apparently not uncommon for them to break these bolts. And so they designed a system so that you can install and remove a broken bolt easily. By casting in a tube like that that lines up with
Speaker A
effectively an enormous washer and then by welding a tube at the bottom of it.
Speaker A
You make it so that you can drop a bolt in down the tube through the hole. And then if you make a T-bolt with it rectangular head on it, you can then turn it in 90°. It is then resting on
Speaker A
this material here and here. It can't pull through. But if that head breaks off, it then drops into this void here and you can make a new foundation bolt and you can just slip the bolt back in, rotate it 90° and clamp it down again.
Speaker A
And say you move workshops, you can keep your foundation bolt cuz all you got to do is loosen them off, turn them 90°, and they'll come right back out. To put in perspective here, that is the length of bolt that holds this hammer to the
Speaker A
foundation. That's enormous. They're big bolts. We've made the foundation washer bolt retaining plate. Let's now make some foundation tubes.
Speaker A
Let's do this. Oh, that was almost a very painful game of dominoes. You're up. Day two of becoming a welder.
Speaker A
Are you kidding me? I'm not needed. I need to make some end caps so that this doesn't get filled with concrete. I need to make uh some little discs that I can then drill and tap so that they line up
Speaker A
with the bolt holes that we made in there. Happy welding. That's kind of pretty.
Speaker A
I like this one. This one's cute. Fun. Cool. Paul has just come around to let me know that it is time for blasting. The first step is to blast and paint the underside. Exciting.
Speaker A
Amazing. Look how good that looks. You look like a brand spanking new amazing teamwork.
Speaker A
And now our threaded discs. Paul's painted the underside. I'M READY FOR THIS. It's brilliant. Oh, I love it. What a perfect base color. Thank you, Paul.
Speaker A
Legend. Yeah. This is not the final coat of paint on the hammer. This is just for the base.
Speaker A
Okay. Slowly, slowly. 18.25 Mhm. take away 1.25 equals one. What? That was meant to be zero.
Speaker A
Nice pull. That's just as it would have been, eh? Yeah, that's perfect. Thank you very much.
Speaker A
That's all right. So, this chopsaw runs on batteries. Isn't it nuts? That's crazy, man.
Speaker A
It's a beast. Now, this is a particularly crucial cut here, cuz it is this cut that determines the working height of the power hammer. And getting the working height of the power hammer right is so important. It also
Speaker A
determines the offset between the top dye and the bottom of the anvil, which is hugely important because if it's too low, you will then break the stuffing box apart. And so what I did the other day is I went and visited Nigel at
Speaker A
Fractum Forge. And again, it was his forge that was the second blacksmith workshop that I ever walked in. And it was that Massie 500 weight hammer that has lingered in my dreams all these years. And anyway, I went and visited
Speaker A
him so that I could get a feel for the treddle on his hammer. That would be quite fine. and just make sure that I was happy with the decisions I was making about how high I was going to have the machine.
Speaker A
I have been humming and hiring about this die height for a very long time.
Speaker A
I've got advice across the board from guys about how they like their hammers. Some people like their hammers much higher, some people like them lower, but having tested that treddle at Nigel's, I'm going to be matching his, which
Speaker A
should match the steam hammer. Mean that if I'm ever doing work on a chain on a jib crane, the die heights are going to be the same between the two machines.
Speaker A
I'm hoping I'm making the right decision here. It's really light, Jenny. Actually, it's got some weight to it, hasn't it?
Speaker A
Better be on the money. No. Take back seis. Put it on upside down. Those holes meant to be the other way up.
Speaker A
Success. And now, in a shocking turn of events on our steel fabrication project, we've got to do some woodwork. That wood is going to be the formwork for casting the pocket on the anvil. It needs to be an octagon. The final concrete needs 1
Speaker A
in clearance between it and this to be wedged with wood, which means that basically my 1-in ply needs to butt up to that. And then it is going to be screwed to these bits of steel, which though the welds are not as nice as my
Speaker A
wife's welds, is the most accurate bit of fabrication I've ever done. I have never ever looked at a bubble level so many times in my life. I'm going insane.
Speaker A
Um, and in fact, I need to go to the store for some more bubbles. Moment of truth to see the final color on the hammer. Wow. Tell me that's not just incredible. Is that not perfect for it?
Speaker A
That is such an awesome color. Now in the daylight, that looks just right. Just right.
Speaker A
Perfect. For reasons that I may or may not get into, I've run out of wood.
Speaker A
Lumbiard is closed. I've got reams of the stuff in there. Time to break it all out.
Speaker A
That just pops right off. Oh, I love it. Isn't that cool? It looks like we've got plywood concrete.
Speaker A
The floor is clean. Got all the schmutz cleared out. Giving it a good vacuum to get as much dust out as I CAN. AND NOW we're going to glue our isolators in place. It's going to be strips of this
Speaker A
core. And then this stuff, technically known as EPS70 grade foam. It's just foam. This is void filler. It ends up being in our case the strips of vibration dampener 150 mm wide. And the strips of void filler are a little bit
Speaker A
wider, 213 mm. And we'll glue it in place with some contact adhesive. And that'll be the floor.
Speaker A
Okay, that's a lot neater, isn't it? We tried the old cheese wire method. It didn't work very well.
Speaker A
Wait, are you making a keyboard? Oh, yeah. Even after I adjusted the measurements in the making of the box, I still have to trim these down. Yay.
Speaker A
Why are you putting a zebra crossing in the bottom of this pit? It's a piano.
Speaker A
All right, Mo. Shock horror solvent bakes contact cement literally completely dissolves this stuff. So, we are switching over to sticky silicon, which will hopefully do a nice job.
Speaker A
Have you just bought a whole box of that? Not know a whole box. It might do the same thing.
Speaker A
I know. I know. Let's see if this stuff really is high tack. High tech.
Speaker A
Tack. Oh, yeah. Oh, yeah. It feels tacky. Like Jamie's interior design taste. So why is this half vibration damper and half polyarian instead of just all being vibration damper?
Speaker A
Well, that's part of the calculations that the engineers that design these systems come up with. It's kind of like how you might think, oh, if I want a car with suspension, more suspensions more better. Not necessarily the case, right?
Speaker A
There needs to be a certain amount of give that's engineered into it to kind of transmit as few of the vibrations of the road to you in the cab. Same principle here. If this was all vibration matting, there wouldn't be
Speaker A
enough give to actually attenuate these uh these shocks. But then equally, if there wasn't enough vibration matting, it would be too squidgy and then wouldn't attenuate the shocks either.
Speaker A
All tuned to the frequencies that are going to be exerted upon it. So, this is what's called a lateral restraint strip or a perimeter restraint strip. I forgot the words that they that they use. The idea is we don't want our
Speaker A
inertia block with the hammer to ever touch the wall without our vibration isolators between it. It can't touch elsewhere. The way this is going to work is it is going to be up high on the perimeter of the block that's cast in
Speaker A
here. meaning that any rocking or tilting of the block is going to be against that fella. And we're going to be using more of that EPS70 white foam to act as void filler on the sides to create that nice pocket where no
Speaker A
vibrations are going to be transmitted. So, this all means I've got to get this stuck on the wall and I got to get the foam stuck on the wall. And I have to say none of the adhesives that I have
Speaker A
used so far give me any sort of hope that this is going to go smoothly. At least on the one on the ground we had gravity helping us. Now there is no gravity and it's not like I can put a
Speaker A
screw through it. There is gravity. Oh yeah, there is gravity and it's the problem. Right.
Speaker A
That was painless. It actually stuck. So far it's happening. Let me show you how my holes looking.
Speaker A
Here's our floor. There are our walls. And you'll see that the polystyrene leaves a little bit of a ledge for our to pad. That'll make sure that it won't slip down the concrete block if this ever degrades. And above it, we have
Speaker A
some pine and is going to be removed so that I can then pour rubber in after the fact to make sure that no scale and debris works its way down the block.
Speaker A
This pine is also the level to which we're going to be pouring the concrete block. Top of the pine is level. It sits 50 mm below the floor. And when I go ahead and screed the concrete paw, I can
Speaker A
use this as a rail to guide on. I can't begin to express how much more time this took than I thought it was going to take. Absolutely everything on this project takes five times as long as I think it's going to take. And it's
Speaker A
driving me a little bit insane because every day that there's a delay is one more day that we can't get the concrete in. And I know for sure I've got to wait 28 days from when that concrete goes in
Speaker A
to when I turn on the hammer. And I am not a patient man. With that, I'll bid you farewell. It's an honor to have you along for the ride and a great privilege to have had Evolution sponsor us today
Speaker A
with their batterypowered line of cordless tools. There's a link in the description where you can find out more about them. I can't wait to see you on the next episode. It's the buy.
Topics:Alec Steelepower hammer restorationMassie 500 weight hammermetal fabricationweldingcordless chop sawconcrete foundationindustrial equipment installationworkshop toolsprecision measurement