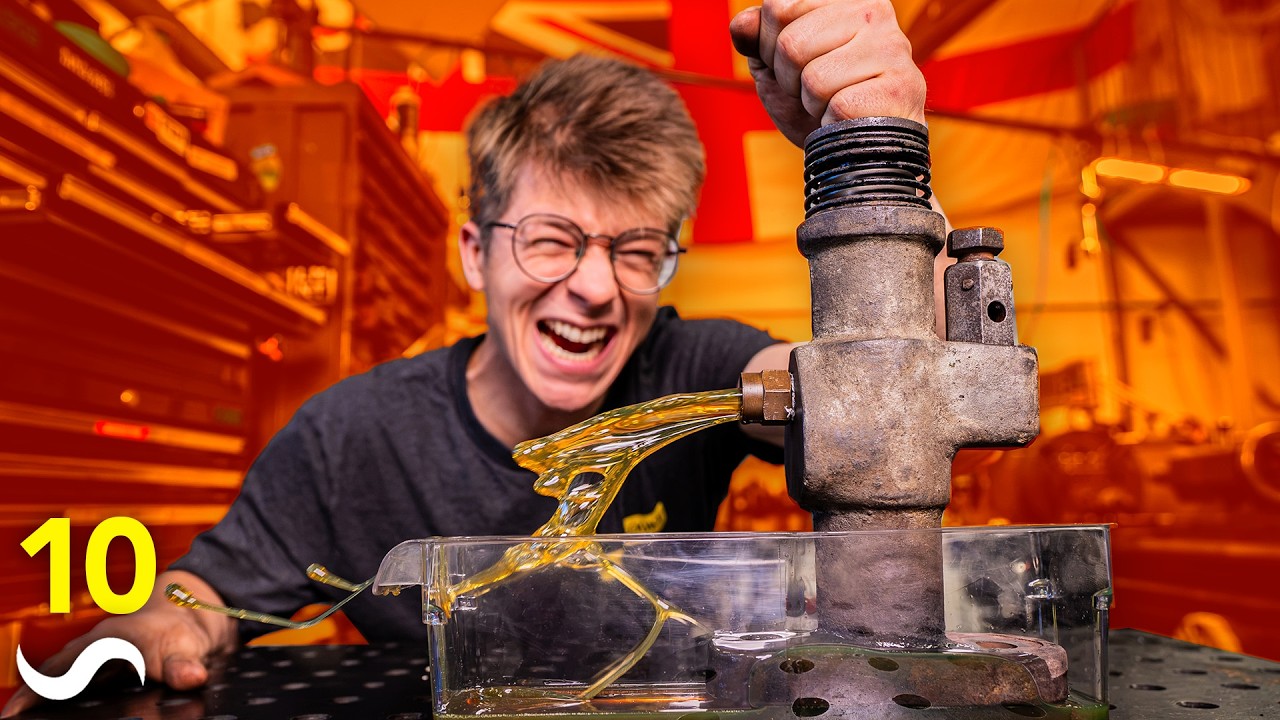
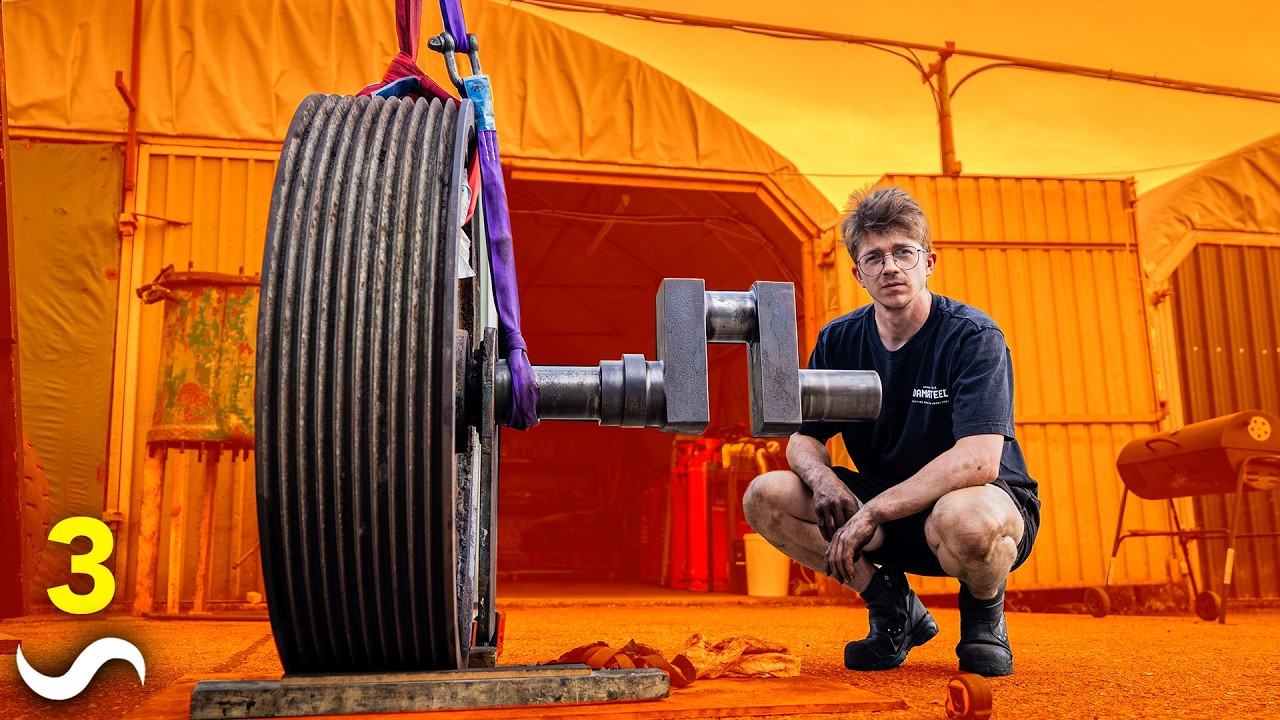
Alec Steele continues restoring his dream Massie Clearace power hammer, focusing on concrete foundation work and vibration isolation.
Ask about this video. Answers come from its transcript only — with the timestamp, so you can check them.
Generated from the transcript and can be wrong — check the timestamp.
Key Takeaways
- Restoring a power hammer requires careful foundation work including vibration isolation to protect the building and neighbors.
- Safety in excavation is critical; shoring walls is necessary to prevent dangerous collapses.
- The Massie Clearace power hammer is a sophisticated machine designed for versatile blacksmithing with electric power.
- Concrete foundations for heavy machinery need rebar and vibration dampeners to ensure durability and reduce noise.
- Personal passion and early inspiration play a large role in Alec Steele’s blacksmithing journey.
What the video covers
- Alec Steele resumes the restoration of his dream Massie Clearace power hammer by preparing the foundation pit with type one aggregate and sand.
- He discusses the importance of safety, acknowledging the need to shore up deep excavation walls to prevent collapse.
- The video explains the complexity of the foundation due to vibration isolation requirements to protect the workshop and neighbors.
- Alec shares his early blacksmithing inspiration and the significance of the power hammer model he is restoring.
- He highlights the advanced valve design of the Clearace hammer that allows multiple blow modes and clamping functions.
- The video includes a sponsored segment promoting Squarespace as a platform for creatives and entrepreneurs.
- Concrete work is done in multiple lifts with engineered rubber and cork vibration isolators to minimize transmitted vibrations.
- Rebar installation is shown as a key step for tensile strength in the concrete foundation.
- Alec thanks his landlord for allowing the complex foundation work in a rented workshop space.
- The video mixes practical restoration steps with personal stories and technical explanations about the hammer and workshop setup.
Chapters
- 00:00Introduction and Foundation Preparation
- 00:54Loading and Transporting Sand
- 01:45Challenges with Trailer and Equipment
- 02:23Alec’s Blacksmithing Origin Story
- 03:51Clearace Hammer Features and Sponsor Message
- 04:55Measuring and Marking for Foundation Work
- 05:49Concrete Delivery and Setup
- 07:07Complex Foundation Design and Vibration Isolation
- 09:40Rebar Installation and Concrete Pouring Process
- 11:35Final Steps and Future Plans for the Workshop
Full Transcript — Download SRT & Markdown
Speaker A
Welcome back to part five of restoring my dream power hammer. In the last episode, we dug this massive hole.
Speaker A
That's where it's going to live. Trying to deal with all the concrete work that we've got to do now so that we can then do the rest of the restoration while the concrete cures. Step one was putting in
Speaker A
some type one aggregate. This is so that there is some sort of a consistent subgrade. It felt kind of funny because it looks like we're putting the same stuff in that came out. It just has more consistent rock size, I guess. But I
Speaker A
compacted it down, which leads us to our next step, which was pouring in a little thin layer of sand. 545 kilos to be exact, because that's as much as the trailer can carry. All right, let's go.
Speaker A
You're not going to get much sand in that. No, I'm taking a trailer. All right, guys. I'll see you in a couple of minutes.
Speaker A
I'm not going to get much sand in that. What do you mean? Come on. You got this, Puffle.
Speaker A
No, it's you. You got this. You all right. See you in a couple of minutes.
Speaker A
Maybe I feel. Okay, behind the scenes here. Mrs. Steel just came up with a cracking joke. This is a plastic bag for me to sit on in my car 'cause I'm wearing my dirty shorts.
Speaker A
We're trying to recreate the joke. We can't make it natural. It's you that can't make it natural.
Speaker A
I've said the line two and a half times. Okay. See you in a minute.
Speaker A
That with bye-bye. [music] What's the top for? I don't think this holy trailer would be very good.
Speaker A
[music] Expertly done, Mike. Outstanding. How do I do this? You nearly had it in then. You just up.
Speaker A
What do I do now? Start again. Am I good? Yeah. Just going to leave it there.
Speaker A
Well, I'd like to do a bit of a better job. [laughter] I'm not very good at this.
Speaker A
God, that's going to take us forever. Are you going to have to come further back?
Speaker A
I can just keep going backwards, eh? How do I do this? How's that? It's not really going any further in, mate.
Speaker A
I don't know how to [laughter] get it further in. Turning more, but it's not going further in the workshop.
Speaker A
That was embarrassing. We never talk about this to anyone ever. This stays within these four walls.
Speaker A
Careful it doesn't zip off the end. Auto. [music] I want to take you back to when I was 11 years old. I saw a blacksmith demonstrating at a county fair on a rainy July day and I was completely
Speaker A
transfixed. I borrowed a little railroad track, made a charcoal forge in the back garden and I started giving it a go and I fell in love with it more and more with every hammer blow. Now, the second workshop that I ever visited was Nigel
Speaker A
Barnets at Francham Forge. And there I was, a wide-eyed 11-year-old boy looking at all of this machinery. And there at the back of his workshop was an enormous power hammer. It was this exact same make and model, a Massie 500 weight
Speaker A
Clearace power hammer. And the power, the noise, the intensity of this machine utterly gripped me. And that just poured gasoline on the fire that was building within me to want to pursue blacksmithing. Now, part of what makes these hammers so good in particular is
Speaker A
in the transition from using steam in factories and forges to relying on electricity, they wanted a self-contained hammer that didn't require an external steam supply, but had all of the control and capabilities of a steam hammer. That means single
Speaker A
blows, reciprocating blows, clamping functions, all achieved with an incredibly complex valve design, as we saw when we pulled this apart. But the great benefit of this hammer over the steam hammer that we already have inside from Massie is that this was branded a
Speaker A
Clearace and it was designed so that there was as much access around the bottom die as possible. But you shouldn't confuse Clearace with Squarespace because Squarespace is a great place to build a website. They're the sponsor of this episode. They've got
Speaker A
countless drag and drop themes. And me building my own Squarespace website more than 10 years ago was a very important step in my own journey and an important stepping stone to actually get to this day where we've got a Clearace power
Speaker A
hammer to restore and install in my workshop because I used to sell blacksmithing tools as well as selling classes through my Squarespace website.
Speaker A
And it's what makes it so great 'cause it's unlimited physical or digital products. You can sell your time with Squarespace scheduling. You can run your email marketing campaigns there too. No matter your business, whether you're a blacksmith, an artist, a ground worker,
Speaker A
anything, a Squarespace website is the best place to showcase yourself. It's an all-in-one platform. You can buy your domain there, too. And so, please click the link in the description where you're going to get a free trial. And then code
Speaker A
FORGE at checkout will get you 10% off your purchases. That includes your domain, too. Squarespace has been an incredible part of my story. And I hope that they will be an incredible part of yours. Let's get back to it.
Speaker A
It's like a G-string. Okay. So, what I now got to do, measure down, across, up.
Speaker A
We cut that. That will be the U. In however many hundreds of years when this gets excavated, see what they think about digging up a steel coin.
Speaker A
I want to take a moment to talk about some of the health and safety mistakes I've been making on this project. I'm coming to you from the future. When we published the last episode, a lot of you guys reached out and let me know that I
Speaker A
made a big mistake in not shoring the walls of this hole. A deep pit like this can be really dangerous 'cause the walls can collapse. As much as I thought the walls were super solid, I shouldn't have relied on that assumption. So the next
Speaker A
time I'm digging a deep hole, I'm going to be sure to shore the walls. And hopefully going forwards in the future set a better example for being safe in the workshop.
Speaker A
All right, here you go. No, Jamie, it's not a swimming pool. Do you want me to turn the tap on?
Speaker A
No, no, no, no. Remar delivery just showed up right in the nick of time.
Speaker A
[music] Thank you, mate. Appreciate your help. All right. Don't poke a hole in the plastic.
Speaker A
That would not be fantastic. Wow, this is going great. [music] [music] Putting in the rebar took a lot of time, but we got there. It was actually pretty good fun. The general idea is make sure that the rebar is not touching the
Speaker A
plastic and it is going to provide some extra tensile strength to the concrete [music] and hold it all together.
Speaker A
The hole is now ready for its first batch of concrete. We have a damp proof membrane in the pit. We've got hundreds of kilos of rebar. And you might think when I say it's time for concrete, it's time for us to do an enormous pour. That
Speaker A
is not the case. In fact, this needs to be done in three lifts. By the way, an enormous thank you is owed to my awesome landlord for letting me do this to his workshop. And the fact that this isn't
Speaker A
my workshop is why this foundation gets a lot more complex than it would be if it was my own. If this was my own and it was a regular steel framed building that I owned, I didn't have neighbors either
Speaker A
side, I would just pour one big block of concrete resting on the earth. It would be an inertia block, but it wouldn't be isolating any of the vibrations that get transmitted into the dirt from then spreading through the soil and vibrating
Speaker A
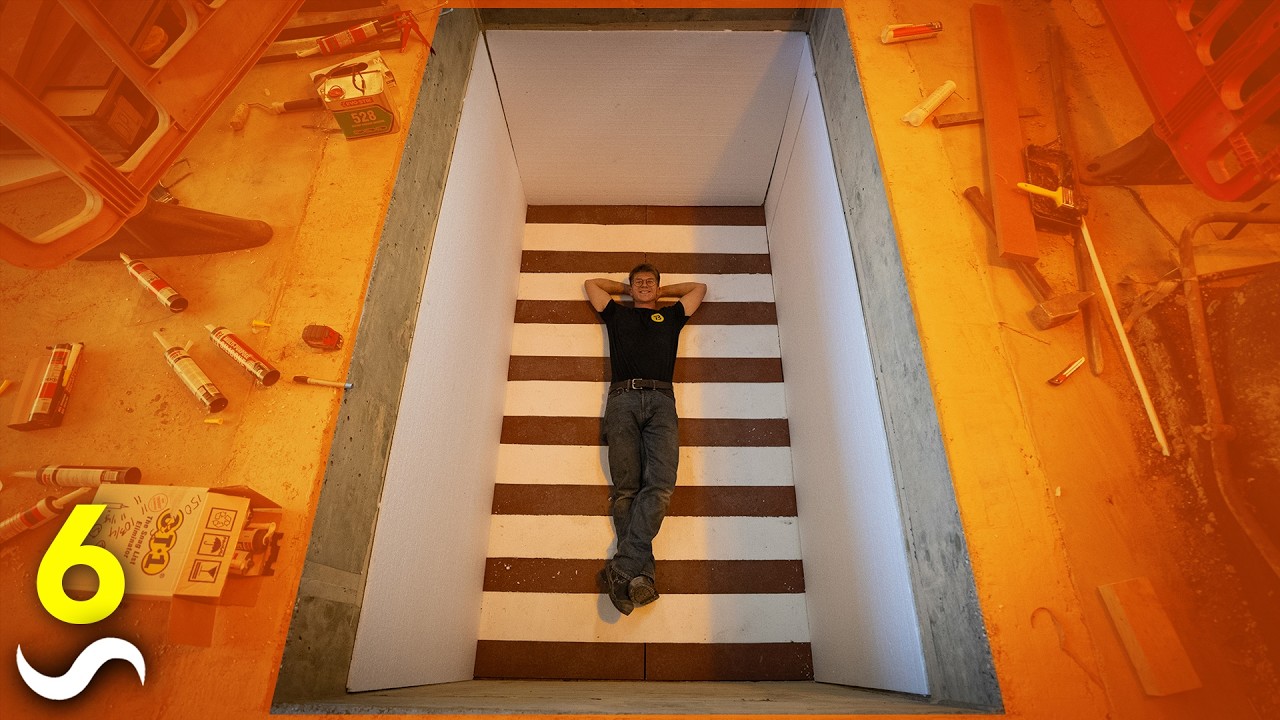
the whole building. In my own workshop, I wouldn't mind. But in order to protect this workshop and keep my neighbors happy, we are doing a vibration isolated inertia block pit construction. And so it goes like this. We need what is in
Speaker A
effect a bathtub. Here is my floor. What's a fluke? Floor. We're going to place engineered rubber and cork vibration isolators in the floor of this pit as well as a lateral restraint strip on the side and then cast a block that is just bearing
Speaker A
on those vibration dampeners. That means that all of the forces and vibrations from the hammer are going to be controlled by these isolators, hopefully transmitting as little as possible to the surrounding structure, the surrounding soil and the
Speaker A
building. I first came across this technique in an old I forg post by, of course, John of Massie Forging, who's been a part in installing boatloads of heavy forging machinery all over the country. This type of installation isn't
Speaker A
just for stopping vibrations from one machine being transmitted to the rest of the building where it could affect sensitive measuring equipment like a CMM, surface grinders running at the other side of a shop, CNC mills where the vibrations would affect their
Speaker A
ability to keep tolerance. But it's also used where you need those precise machines to not be affected by outside vibrations. And so it goes like this.
Speaker A
The company that sells these vibration isolators calculates the mass of the concrete block, the machine, the frequency of its impacts, as well as the power of it, and then they tell me what I should buy from them. Let me tell you,
Speaker A
it adds up. This is a pallet with £3,200 worth Oh, yes. of this specialist vibration dampening material. Look at that. It's got a little little cushion to it, doesn't it? A little bit. Yeah.
Speaker A
It's uh based off a cork. What? That's made up of old wine bottle corks.
Speaker A
That's exactly right. Oh, it smells amazing. What would you call that? Malbeck. It does smell good.
Speaker A
Yeah. So, it is strips of these that [music] go underneath the 15 ton block between it and the floor of our concrete pit. The reason I've broken this out is I want to make sure that we make our pit
Speaker A
such that I don't have to then trim them after the fact. So, I want to double check the measurements that they've uh cut them to. It should be 1,524 millimeters, which should be bang on 5T.
Speaker A
And it's actually uh good job I measured it because it is 5 ft and a 16th or an eighth of an inch. So that means that as we build our formwork, I'm going to add just that little bit of extra clearance
Speaker A
from the drawings so we don't have to do any trimming. You'll see more about this pad when we actually install the hammer.
Speaker A
that 1/2 in pad a meter square. I think that was about £1,400 of the whole bill.
Speaker A
Should just use some [music] old carpet. Yeah, I don't think old carpet would have done the job. This is this is the proper stuff. So, the three paws I mentioned are going to be as follows.
Speaker A
The floor, then the upright walls, then the pads go in, and we do the final block. Since it's too hot today, we're not going to pour the concrete floor.
Speaker A
We're going to wait a few days till the weather cools down. What we are going to do is get to work on the formwork that we'll need for the pour of the walls.
Speaker A
Thankfully, I've got wood. Oh, on the money. You can call me Alec Carpenter. Brother, look. The last inch the thing dies.
Speaker A
Oh, great. Why does that not line up? That should be 18 mm. How is that possible?
Speaker A
Golly, I take it back. Alec, no carpenter. Are you sure it wasn't supposed to be carpenter?
Speaker A
Oh, what if there was a typo and carpet laying is my calling? That's about 3 mm short.
Speaker A
Oh, I see. You're going for a little gap in the middle. Well, that's actually now a spot so I can put a pry bar for disassembly. So, it's actually a very important construction technique.
Speaker A
[music] 305 to the half mm. Dead nuts, mother. This formwork is going to be taking a lot of pressure from the concrete. You know, there's going to be six ft of uh of height on this. And I guess it's the
Speaker A
same thing as when you go swimming and you go really deep, there's more water pressure. The higher this is, the more there's going to be this pressure acting on the walls of this form. And it would be really unfortunate if this just caved
Speaker A
in and then left 6 1/2 cubic m of concrete in a puddle on the floor.
Speaker A
Wouldn't be very easy to fix that problem. Now, the trouble is is ideally everything would be screwed from the inside so that then we can disassemble everything from the inside. But that is a lot easier said than done. So maybe we
Speaker A
like put a couple of retaining screws first. Or maybe I just say screw it. And I do do it from the outside.
Speaker A
I think a few of these little things and we'll be able to easily hammer them out.
Speaker A
It's my guess. When I say guess, I mean my prayer. You're living on a prayer.
Speaker A
Absolutely. But I am unfortunately only halfway there. All right. [music] IT'S CONCRETE DAY. OKAY. SO, made a phone call this morning about some concrete. Lovely chap. He says, "Yeah, hang on a second. Would you be able to accept it today?" I go, "Yeah."
Speaker A
Which is great, but is also terrifying. The pressure is on. This floor is what we're going to pour. We've got 1.8 m cubed coming. The formwork for our walls is not going to be needed for a week.
Speaker A
So, I've got to clear that out. And then I need to make some nice lines to work to for the concrete so that we can get it flat and level.
Speaker A
Visibility is great. Oh, brilliant. Our reinforcements have arrived. Thank you. Let me walk you through the tools that I've got. This is like a scoocher rake thing. This is a concrete tel. And this is my vibrator.
Speaker A
Sir, I think Jamie left this tool here. Oh, yeah. We borrowed this from Jamie.
Speaker A
So, I'll make sure to clean it before I give it back to him. [snorts] Pan [clears throat] will go like this. The wheelbarrows will dump the concrete.
Speaker A
I'll use the scoocher. I'm going to be in here with my Wellington boots. Then, once I got it roughly level, I'll come in here with an ultra high precision flattening board and I will all the way up to here. At which point,
Speaker A
I'll have to start going upside down D to do the rest of the floor and we'll be sweet. Just saw the concrete truck pull in and it's probably lost. I'll go find him.
Speaker A
Look at that. Oh, here's the first one. [music] [music] Ah, sticky. Thank you. Oh, good one. That was a good throw.
Speaker A
I haven't been able to sleep for days. I've been so scared about this concrete going in. You remember this is a DIY job. I've never poured concrete, tied rebar, but I've been doing my utmost to study the topic and hopefully do a job
Speaker A
that is going to work. And of course, at the end of the day, when it's all said and done, we'll fill up the hole flush with the floor. I'll reepoxy the whole workshop, and nobody's going to ever know that there is 20 tons of concrete
Speaker A
in the ground. That was stressful. But with the help of our phenomenal neighbors, thank you, Paul. Thank you, Steve. The concrete is in. And now just trying to smooth off any of the rougher bits. I was speaking to a blacksmith who very kindly gave me
Speaker A
some of his experience putting in foundations and he did tell me, "Yeah, I lost a couple of spirit levels in my foundation paw." So, he has spirit level reinforced concrete under his massive power hammer. And I thought that that
Speaker A
was just the funniest thing ever. As far as I know, I haven't dropped anything into this. It is possible that my phone is there and I just don't know about it yet. Gentle check of level. Oh, come on.
Speaker A
Now, look at that. Does that look as good from your angle as it does from mine? Now, the surface finish of the pore could be a little bit nicer. A pro concrete finisher is going to do a much
Speaker A
nicer job, but considering I'm at the bottom of a pit, and the best tool at my disposal was a 2x4 on a tel, I think it's going to do the job just fine. And thankfully, nobody's going to see it for
Speaker A
very long. We're going to need to wait a good few days from when the floor was pulled to when we can pour the walls.
Speaker A
And in that time, I'm going to prepare the hammer frame, standard, and the base plate for blasting and painting. [music] [music] We don't want any dust and debris getting inside there, especially not after we spent so much time cleaning it
Speaker A
out. So, we're going to seal everything up with the original access plates where we can and plywood and silicon where we can't. Hope I don't regret siliconing these in place temporarily. Hopefully, it's the right amount of stick and not
Speaker A
too much stick. This has the possibility to be a flashback moment in the future.
Speaker A
God, I love how these holes line up so well Alec. And while I've been doing that, Paul has also had some of the small parts in his vibratory rumbler. And dare I say, they came out spectacularly.
Speaker A
Now, we got to get our box in the hole, ready for concrete. 8 and 1/2 9 and 1/2 8 and 1/2.
Speaker A
Best way to do this would be to get Steve's uh little hydraulic. I've got them. I've got some.
Speaker A
Well, let's just chuck it in that corner and push it this way a little bit.
Speaker A
Yeah, good idea. All right, pump. You want me to pump? Yes, please. Ow, you yourself in the handle.
Speaker A
Oh, I heard it. Shuffle. Perfection. To the [music] eighth in. I thought it was supposed to be 9 in. to the 8 in. Now we've got to secure it so it doesn't budge around when the concrete comes.
Speaker A
I've got it on semi-auto, not fully automatic. Oh, [snorts] this is hopefully ready for concrete walls. I hope desperately that we don't crush the plywood in from the hydrostatic force of all the concrete. I hope that it's strong enough. Hopefully,
Speaker A
a truck is going to be coming in the morning bright and early for now. Oh, shoot. You know, I forgot, Jamie. Shoot.
Speaker A
We're going to make a concrete shoot. I thought it was meant to be a water slide.
Speaker A
Guys, I don't know how many times I have to tell you this is not a swimming pool, James.
Speaker A
Oh, sorry. I had baked beans for breakfast. I think I myself, [laughter] you want to go for the nutty putty cave experience?
Speaker A
Oh, yeah. I'm close. Bit of a industrial spelunking they call. You've heard of speliology, but have you heard of steeliology? The plan's as follows. Next time the concrete truck comes, we know that he can get his chute to here. We know that
Speaker A
it was like what about like waist height? We're going to cut those pipes in half, build a chute system that will then hopefully get it closer. We'll make trestles to support the shoots so we can hopefully go from one chute into the
Speaker A
next and then angle it to maybe be able to pour some stuff in. [music] Now, when I was getting ready for the first concrete pour, I was absolutely terrified. It wasn't just the first concrete pour of this project. It was my
Speaker A
first concrete pour. So, obviously, I was quite nervous about how it was going to go. Now, in blacksmithing, I'm used to working under a time pressure cuz every time you take the bit of metal out of the fire, there is a timer. It's
Speaker A
going to cool down. So, you need to, you know, hustle, be quick, plan well. But the thing is, if it doesn't go well in a heat, you can always put it back in the fire and have another go. With concrete,
Speaker A
there's no takebacks. The takebacks involves a giant excavator with an enormous breaker bit on it and copious amounts of expense. Now, despite the fact that the surface finish on the floor that I poured obviously could have been better if I was a pro, I'm largely
Speaker A
quite happy with how it went. And so, in the run-up to this the second paw, which is going to be happening in a few minutes, I thought I was pretty relaxed about the whole affair. However, last night, despite the fact that I almost
Speaker A
never remember my dreams, I woke up three times with nightmares about this paw going wrong. My first dream, somehow these walls were 6 ft high and as they were filled with concrete, the entire thing burst, sending concrete all over
Speaker A
the place. Well, that one doesn't sound plausible. So, in one of the dreams, it exploded everywhere. In another one of the dreams, I ran out of concrete and it set up and I hadn't vibrated it enough. In another one of the dreams, it started
Speaker A
going pear-shaped and setting up and then Colon furs rocked up with a couple of stainless steel sheets. I don't know what the stainless steel was for.
Speaker A
Was that one of them? No, the concrete had already dried up by that point.
Speaker A
Yeah. Oh, look at that. All right. Will it run it? Come on. LOOK AT IT. LOOK AT THAT, BRO.
Speaker A
Maybe it wasn't so smart after all. Great idea, Paul. That's perfect. Outstanding. Look at it go.
Speaker A
[music] So, the shuttering box started to float, so I had to put a couple tons of steel on it. And now it looks a lot more solid.
Speaker A
[music] Almost there. We're getting there, guys. Alex, what about those dreams you had last night?
Speaker A
Yeah, I worked through all of the other possibilities of this going wrong, apart from the one that actually happened. Oh, trying to make things as smooth as I can.
Speaker A
Woo. This is hard work. But I tell you what, this would have been a whole lot less fun if we got a crew of professionals in to do this for us.
Speaker A
That' be boring, wouldn't it? Yeah, this isn't a proper adventure. Although, my ears are really ringing.
Speaker A
[music] Why is that? Cuz the saxophones were loud as earlier. [laughter] So, the lessons I learned on this, never underestimate the ability for the form to float. It looks like the forms did a lovely job. They don't at all seem to be
Speaker A
at risk of caving in. So, I'm very happy about that. I've made it just below the level of the actual floor. So, at the eventual end of my teny, it's easy to just grind a little bit off before
Speaker A
re-epoxying the whole area. I'm pretty happy overall. Second concrete pour could have gone a lot better with more experience, but it would have been significantly less fun. Part of the fun is just getting stuck in and having a
Speaker A
go, isn't it? One more to go. The last one should be easy, though, cuz it's just going to go straight in the hole pretty much. But in order to do our third and final paw, I need to do some
Speaker A
serious fabrication to make the assembly that holds the foundation bolts. Thank you to Squarespace for sponsoring the video. Check them out at the link in the description. Use code forge at checkout.
Speaker A
And again, special thank you to our awesome neighbors for helping us make this possible, as well as the landlord for allowing us to do all of this. Thank you everybody that's been involved. See you on the next one. Bye-bye.
Topics:Alec Steelepower hammer restorationMassie Clearaceblacksmithingconcrete foundationvibration isolationworkshop safetyrebar installationSquarespace sponsorblacksmith tools