Skip to content

Let's code a Linux Driver - 20 Allocate and use Device Data

Learn how to allocate and manage device data dynamically in Linux device drivers to support multiple devices using GPIO on Raspberry Pi.

Key Takeaways

  • Global variables are insufficient for drivers handling multiple devices; dynamic allocation is necessary.
  • Device data should be allocated per device instance to avoid data overwriting.
  • Managed memory allocation (devm_kzalloc) simplifies memory management by tying allocation to device lifecycle.
  • The probe function is called for each compatible device, so device-specific data must be handled accordingly.
  • Proper freeing of resources in the remove function is essential to avoid memory leaks.

What the video covers

  • The video demonstrates how to allocate and use device data within a Linux device driver.
  • It builds on a previous tutorial where a device with one LED and one button was controlled via GPIO.
  • The goal is to extend the driver to handle multiple devices instead of just one.
  • A device tree overlay is modified to add a second device with its own GPIO pins.
  • The existing driver uses global pointers which cause issues when multiple devices are present.
  • Dynamic allocation of device data is introduced to solve the problem of handling multiple devices.
  • The video explains the use of managed memory allocation with devm_kzalloc to bind memory lifetime to the device.
  • The probe and remove functions are updated to allocate and free device data properly.
  • The tutorial includes compiling and testing the driver on a Raspberry Pi via SSH.
  • The approach ensures proper memory management and device handling in Linux kernel drivers.

Answers

Questions about this video

Why is dynamic allocation of device data necessary in Linux drivers?

Dynamic allocation is necessary because the probe function is called for each compatible device, and using global variables causes data to be overwritten when multiple devices are present.

What is the advantage of using devm_kzalloc over kzalloc?

devm_kzalloc automatically ties the allocated memory's lifetime to the device, freeing the memory when the device is removed, which simplifies memory management and avoids manual freeing.

How does the driver handle multiple devices with the same compatible string?

The driver allocates separate device data structures for each device instance during the probe function, ensuring that each device's data is managed independently despite sharing the same compatible string.

Full Transcript — Download SRT & Markdown

00:01
Speaker A
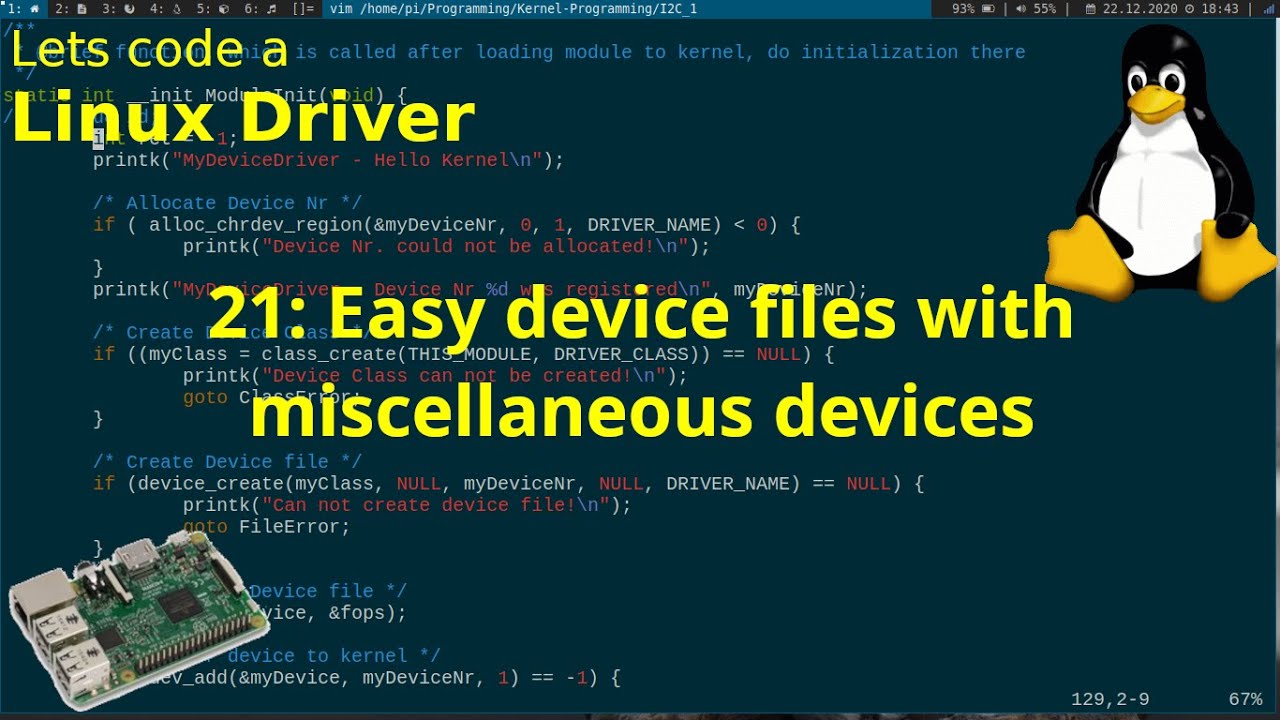
Welcome to an episode of my Linux driver tutorials. Today, I want to show you how you can allocate and use device data within your Linux device driver. But before we start, we have to take a look at our previous lecture and what we have done there.
00:17
Speaker A
done there. So as you can see here, I'm connected to my Raspberry Pi over SSH and I'm in my Linux driver tutorials folder. So let me go to 19 DTE def GPIO's which was our last session. So last time we have added a
00:35
Speaker A
So, as you can see here, I'm connected to my Raspberry Pi over SSH and I'm in my Linux driver tutorials folder. So let me go to 19 DTE def GPIOs, which was our last session.
00:49
Speaker A
GPIO properties. So this device has one LED which we can control and one button we can control. And the goal of today's video is I want to write a driver which is able to handle multiple devices because the driver which I have written
01:04
Speaker A
So last time, we have added a device to the device tree with two GPIO properties. So if you're taking a look at my overlay.dts, you can see we have added my device to the root path of our device tree. And this device has two GPIO properties.
01:21
Speaker A
write jump into it. So what do we have in here? My def driver C are the C sources of our driver. My overlay dts is our device tree overlay. The make file compiles the driver and the device tree
01:34
Speaker A
So this device has one LED which we can control and one button we can control. And the goal of today's video is I want to write a driver which is able to handle multiple devices because the driver which I have written in this lecture can only handle one device and I will show you why just in a second.
01:47
Speaker A
So I will copy six lines and I will add a new device which I will name my device 2. It is compatible with the same driver and it uses two um also two GPIOs. LED GPIO will be pin
02:04
Speaker A
But first, I will copy, um, yep, lecture 19 and I will create a new one which I will call dtdev data and I will jump into it. So what do we have in here? My def driver C are the C sources of our driver. My overlay dts is our device tree overlay. The makefile compiles the driver and the device tree overlay and the readme gives you some more information when you're viewing this on GitHub, for example.
02:11
Speaker A
Okay. And if I would use this overlay with the existing driver I would get a problem and I will show you why when we're taking a look at the driver.
02:21
Speaker A
Okay. And the first thing I will do in my overlay dts, I will add a second device. So I will copy six lines and I will add a new device which I will name my device 2. It is compatible with the same driver and it uses two, um, also two GPIOs. LED GPIO will be pin, um, 19 and for the button I will use pin 16 here just for an example.
02:37
Speaker A
function we bundle everything in a driver strct and we're registering this at the operating system and the problem now is we the probe function is called for every um compatible able device which is added to our system. So before we only
02:55
Speaker A
Okay. And if I would use this overlay with the existing driver, I would get a problem and I will show you why when we're taking a look at the driver.
03:09
Speaker A
global variable. And at the end in the remove function I will use this global pointer again to free the GPIOs. And the problem is now we have two compatible devices. So this function will be called once for my
03:24
Speaker A
So here we have our platform driver or device tree device driver which is compatible with, um, bright light, which is the same compatible string as we have seen in the device tree overlay and we have a probe function, we have a remove function, we bundle everything in a driver struct and we're registering this at the operating system.
03:46
Speaker A
the thing is because we don't know how many devices are available or added to the system, we have to allocate this device data dynamically.
03:55
Speaker A
And the problem now is the probe function is called for every, um, compatible device which is added to our system. So before, we only had one device. So my def probe was called for my device. And down here we are reading in this GPIO from the device tree.
04:05
Speaker A
And the strct has two fields. Both are pointers from the um type GPIO descriptor. And the first one I will name LED for the LED and the second one I will name button for the button.
04:19
Speaker A
And we're saving it in a global pointer which I have declared here as a global variable. And at the end in the remove function, I will use this global pointer again to free the GPIOs. And the problem is now we have two compatible devices. So this function will be called once for my device and a second time for my device 2 and these global pointers will be overwritten.
04:26
Speaker A
So let me add a pointer here which I will call PR for private data and down here I will allocate memory for this for the device data. So one thing which I could do I could use k set alloc
04:44
Speaker A
And to solve this, we need device data. So device data is the data which is assigned to every device within our driver. So yeah, let's allocate and... The thing is because we don't know how many devices are available or added to the system, we have to allocate this device data dynamically.
05:07
Speaker A
So I could allocate the memory like this. But the downside when using case set alloc is here whenever an error occurs I have to free the memory again.
05:17
Speaker A
So yeah, let's go. But the first thing I want to do is for the device data, I will use a struct which I will call my def data.
05:33
Speaker A
with the managed function the um availability of the allocated memory is binded to the device. So as long as the device is present this memory will be present but when the device disappears from the system the memory will be freed
05:49
Speaker A
And the struct has two fields. Both are pointers from the, um, type GPIO descriptor. And the first one I will name LED for the LED and the second one I will name button for the button.
06:06
Speaker A
be allocated. So yeah this is how to use or how to allocate um the device data and bind it or yeah and bind it to the lifetime of the device.
06:21
Speaker A
And now in the probe function, the first thing we have to do is we have to allocate memory for our device data.
06:34
Speaker A
So here let's print out an error um out of memory and then let's return the error no memory here.
06:48
Speaker A
So let me add a pointer here which I will call PR for private data and down here I will allocate memory for this, for the device data. So one thing which I could do, I could use kset alloc to dynamically allocate memory and to initialize the memory with zeros.
07:05
Speaker A
Okay. And here the same for the button. And down here we are turning the LED on and we are reading in the button. Okay.
07:19
Speaker A
So I have to amount or I have to allocate, um, size of struct my def data bytes of memory and the flag will be GFP_KERNEL for normal memory allocation.
07:38
Speaker A
device data which we have allocated. And this function is called platform set driver data. The first argument is the platform device to which we want to set the driver data and the next argument is the device data which we
07:58
Speaker A
So I could allocate the memory like this. But the downside when using kset alloc is here whenever an error occurs I have to free the memory again.
08:06
Speaker A
And here in the remove function, we want to fetch the device data again. So let me also declare a my defaf data pointer here. And I will set this pointer to platform get driver data. And in here we
08:23
Speaker A
And of course, in the remove function, I would also have to free the memory. But the cool thing is there is an allocation function available for devices which is managed and this function is called devm_kzalloc. And the big advantage is with the managed function the, um, availability of the allocated memory is bound to the device.
08:39
Speaker A
we can free the GPOS for the LED and for the button. Okay, so that should be it. Let me try to compile everything and let's see how much mistakes I've made.
08:53
Speaker A
So as long as the device is present, this memory will be present but when the device disappears from the system, the memory will be freed automatically. So we don't have to take care of freeing this memory.
09:07
Speaker A
again. Okay, the compilation worked. So then let me fire up T-Max and spawn a second window here where we can follow the Linux kernel lock. And in here, first I will apply the device tree overlay uh my overlay DTPO. So now we have added
09:27
Speaker A
And the only thing which is different with this devm_kzalloc function is as a first argument we have to pass a pointer to the device for which the memory should be allocated.
09:47
Speaker A
Um okay. Yes, you have to believe me. It's a little bit hard to see, but both LEDs are on. Or the second one. No, the second LED is not on.
10:03
Speaker A
So yeah, this is how to use or how to allocate, um, the device data and bind it or yeah and bind it to the lifetime of the device.
10:18
Speaker A
Yep. It seems I've chosen the wrong GPIO. So, let's check. Oh, I've connected it to pin 16 and not to pin 19. So, that's the error. So, it's a correctable one. We have to open up our device tree overlay again. Here,
10:35
Speaker A
Okay. The next thing we have to do is of course we have to check if an error or if the allocation was successful and the only reason why the allocation can fail is when we ran out of memory.
10:47
Speaker A
Then I have to remove the device tree overlay and reapply it. Here we go. And now I can load the driver again.
11:01
Speaker A
So here let's print out an error, um, out of memory and then let's return the error no memory here.
11:15
Speaker A
Yeah, the connection is not the best, but believe me, this time it's really on. And if I turn it off again, both LEDs are off again.
11:24
Speaker A
Okay. And now we have allocated the memory for the device and it's available. So now we can use the device data here and store the GPIO descriptor for our LED in our allocated memory.
11:37
Speaker A
thanks for watching and goodbye.
Topics:Linux device driverdevice data allocationGPIORaspberry Pidevice tree overlaykernel programmingdevm_kzallocprobe functionremove functiondynamic memory allocation

Get More with the SozAI App

Transcribe recordings, audio files, and YouTube videos — with AI summaries, speaker detection, and unlimited transcriptions.

Or transcribe another YouTube video here →