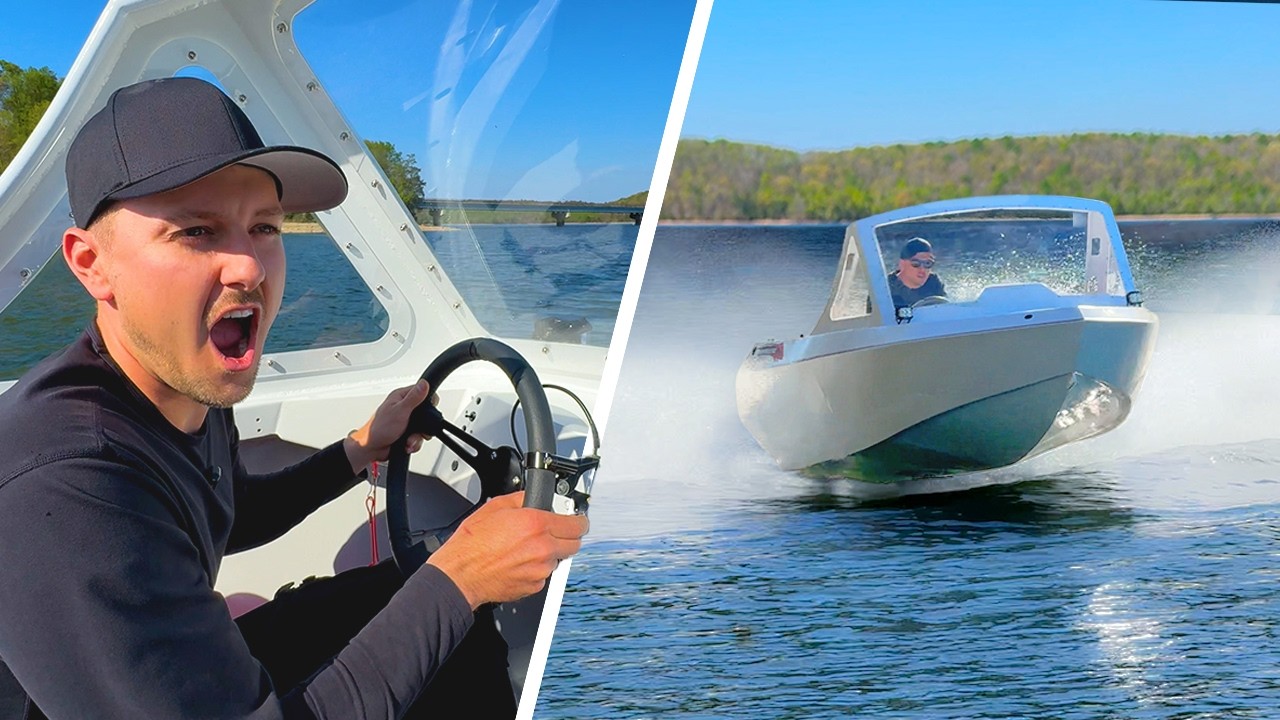
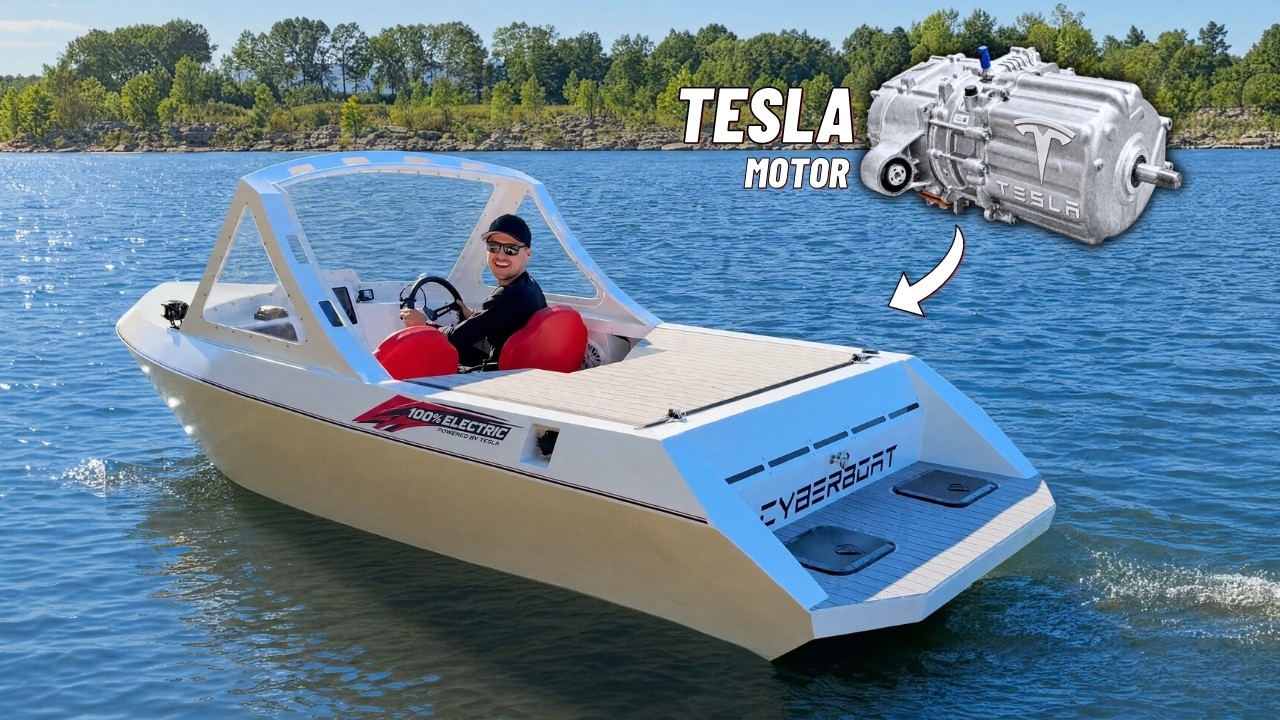
Upgrading a Tesla-powered mini jetboat with new batteries and a custom Model S motor for improved performance and reliability.
Ask about this video. Answers come from its transcript only — with the timestamp, so you can check them.
Generated from the transcript and can be wrong — check the timestamp.
Key Takeaways
- Tesla battery modules can be repaired and balanced for custom electric projects.
- Custom motor modifications enable higher power and direct jet drive integration.
- Precision machining and careful planning are critical for adapting automotive parts to marine use.
- Upgrading wiring and cooling systems improves reliability and ease of maintenance.
- The project successfully demonstrates a high-performance electric jetboat build.
What the video covers
- Fixing and balancing Tesla battery modules to replace damaged cells and improve capacity.
- Upgrading battery boxes with professional sealing solutions and removable wiring plugs.
- Removing Tesla control boards and installing an aftermarket battery management system.
- Custom tuning a Model S motor to increase power output from 280 to over 350 horsepower.
- Modifying the motor rotor and removing internal gears to directly drive a jet pump.
- Machining and welding parts to fit the motor into the boat and ensure proper oil cooling.
- Installing custom oil ports to maintain bearing lubrication after gear removal.
- Using precise wire EDM machining to bore out the rotor for a custom stub shaft.
- Testing and assembling the motor and inverter system for the first successful test drive.
- Demonstrating the boat reaching speeds up to 50 mph with the upgraded setup.
Chapters
- 00:00Introduction and Battery Fixing
- 01:02Removing Model 3 Motor and Battery Assessment
- 01:56Balancing Battery Modules and Testing Capacity
- 02:48Upgrading Battery Box Sealing and Wiring
- 04:23Battery Assembly and Leak Testing
- 05:22Motor Disassembly and Inverter Overview
- 06:40Machining and Modifying Motor Components
- 08:33Installing Custom Oil Ports and Rotor Modification
- 09:31Rotor Assembly and Final Motor Preparation
- 12:46Inverter Installation and Motor Testing
Full Transcript — Download SRT & Markdown
Speaker A
Welcome to episode two of the Tesla-powered mini jetboat build. Today, we're fixing the batteries.
Speaker A
Yes, and building a totally custom Tesla motor to power it. It's so smooth. In this project, we're learning so much about high voltage electric drivetrains while pushing the limits of what's possible with them. At the end of this episode, we're doing the
Speaker A
first successful test drive of the boat. Let's start today by removing the batteries so we can fix them.
Speaker A
I'm standing in a metal boat touching the live terminals. Any last words? Oh yeah.
Speaker A
So much more barren in here. Next, let's pull out our Model 3 motor we put in in the last episode. There's nothing particularly wrong with it. I just don't like the inverter relocation mod, and I know we can do
Speaker A
better. So I've identified the worst cell. So this is a good cell here. 3.87 right here.
Speaker A
9 volts. All the cells in this region right here are completely drained and they are unrecoverable. Once they get below about 2 volts, they're completely shot. The chemical makeup inside of them changes and they're no longer able to be
Speaker A
charged again. These are the two new modules we are replacing the junk ones with. Now we have to make these four modules play nice together by balancing them out to the same voltage. These two packs were at 92 volts, which is pretty
Speaker A
full. So I need to drop them down to match these two at 83. Luckily, it's pretty easy to remove power from a battery. This is so awesome. We're boiling water with just one of these modules. These battery modules carry an
Speaker A
insane capacity and they have such low resistance that they can put out a ton of current. I'm pulling about 30 amps with this little setup, but that is nothing for these liquid-cooled batteries. They can put out over 600
Speaker A
amps each. It's just crazy. Now that the battery modules are balanced, we can get ready to reinstall them. Version two of the battery boxes is going together way more professionally than the first round. The last version had a bunch of silicone
Speaker A
wrapped around all these bolts to seal it up. And it was super nasty looking.
Speaker A
You can't just put a rubber washer on these bolts because they have a load on them and it'll just squish the rubber everywhere. So, I've come up with a solution. I found these washers. They're for like a hydraulic pump. Those will
Speaker A
tighten up and they can handle a ton of load while they're sealing with that rubber washer there. They're not very cheap. This was $400.
Speaker A
What have we done? It's the best way to do it. It's the only way. I don't know what to tell you, man. These electric projects are just expensive.
Speaker A
Since we're using an aftermarket battery management system, we can get rid of the Tesla control boards off of these new modules, just like last time. And then we can add our cell tap wires that monitor and balance the voltage across
Speaker A
each of our 96 cells. Last time we soldered to these battery tabs and it did not work well. So this time we're crimping to them. It looks a little crude, but this is actually the best option here.
Speaker A
I'm upgrading all the wiring with removable plugs to make assembly and any repairs in the future a lot easier.
Speaker A
Battery is fully assembled and I want to test the cooling system in each module.
Speaker A
We're just going to put about 10 PSI in and let it hold for a little while.
Speaker A
Make sure we don't have any leaks. All good. Finally, we are sealing up the new batteries.
Speaker A
Looks so good. This is our new motor, and this thing is going to be crazy. Our Model 3 motor was an impressive 280 horsepower, but this custom-tuned Model S motor will make over 350 horsepower.
Speaker A
You know you're doing some sketchy stuff when they try to hide the bolts from you. They know right where they're at. And you can see the gearing reduction here. So that one's spinning 9.7 times slower than that one. This is
Speaker A
the RPM we're after. Horsepower is great, but the coolest part about this motor is it can spin over 18,000 RPM.
Speaker A
We got the motor fully gutted now and we can check out how it works. This is the inverter that controls how much power the motor gets.
Speaker A
And the rotor lives in there like that. And this is what generates the torque. When this is in the car, there's a bunch of gears in here that reduce the RPM of the motor to the axle outputs right here about 9
Speaker A
to one. But we need the full RPM of the motor. The way we're going to do that is by adding this custom stub shaft right into the tail end of this and drive it all the way in so that we have the jet
Speaker A
drive connected directly to the rotor on the motor. It's also too wide to go in the boat just like this. And we don't need this whole section that used to carry all the gears. So, we're going to slice it off and weld the cap on it.
Speaker A
Wa. Now, we're going to mill this part perfectly flat. I am not a machinist.
Speaker A
I'm using random parts to jig this thing up. We're going to ratchet strap it down and just run the mill into it. Make it flat.
Speaker A
Sweet. That worked really good. I can't believe it didn't fly off of here. Wow.
Speaker A
Not bad. Definitely good enough to weld to. We got our oil pressure fitting installed. This is definitely the world's first Tesla with an A race fitting welded to the top of it for oiling.
Speaker A
Since we removed the internal oil pump and some of the gears that splash oil around, I need to add a couple different ports to spray oil on our bearings to make sure they stay cool and lubricated.
Speaker A
Modifying the rotor was the key to the whole build here. I had this section removed from this rotor.
Speaker A
Look at that. So, this is what it used to look like. And I had a machine called a wire EDM that cut all the way around to the profile of our new shaft and it removed this blank.
Speaker A
It is unfathomably precise. Like we're talking smaller than human hairs by like a thousand. Now that the rotor is bored out to the correct diameter, we can slide our new stub shaft in. So we're going to have to chill this part down to
Speaker A
shrink it and then slide it in. I really wanted to use my liquid nitrogen for this, but I used it all up making ice cream. I had this in the freezer for a few hours, so it's nice and shrunk down.
Speaker A
Hopefully, it pops in. If we mess this up, it's a really big deal. It's going.
Speaker A
Yes. I think that's all we're going to get. That's okay. It doesn't need to go in all the way. It's definitely not going to come out. Sweet. If I would have used the liquid nitrogen, it for sure would have went in all the way.
Speaker A
Oh, baby. This is now officially a jetboat motor. This is the standard jet pump adapter flange. That is so cool. It is time to install our extremely custom modified Tesla rotor.
Speaker A
It's a real pain in the butt to get out if we mess this up.
Speaker A
It's not good. You can damage the bearings. Oh my gosh. So, now we're going to put this cap on here.
Speaker A
And you see how that shaft lines up right here? We just need to poke a hole in the top of this thing, stick this shaft out, and then put a little seal right here. That's it, dude. We're
Speaker A
done. I made this little sealing flange out of a piece of 1/2-inch aluminum plate.
Speaker A
And I'm going to use a razor blade to scribe its perfect location on the housing so I can take it off and weld it.
Speaker A
This thing fits perfect. This is the stator. This is what actually puts the current from the inverter into the rotor.
Speaker A
Oh yeah. You have to put a lot of thought into how the whole system works before you can design parts. For example, the diameter of this shaft is determined on the diameter of this bearing being able to slide over top of it.
Speaker A
If it was larger than that, we'd have a very big problem. To get this shaft installed perfectly aligned with the factory rotor was not easy. Lots of planning, redoing the oil system, cutting the case, everything to make this happen. I'm so proud of this motor.
Speaker A
I think it's really going to work good. This is the inverter. What it does is it takes the two big DC power leads from your batteries and converts it to a three-phase AC output to run the motor with.
Speaker A
these control boards inside of here. This inverter has a huge problem for us here. And that's that [singing] logo right there. The stock control board in here makes it really hard to control the motor when it's not in a Tesla vehicle.
Speaker A
But luckily for us, somebody else has spent a ridiculous amount of time developing a new one that we can install and control this thing however [music] we want. We just need to pop off the Tesla control board.
Speaker A
Grab our new control board and solder a few connectors to it. Too easy, dude.
Speaker A
Too easy. Got our aftermarket inverter board installed now. Oh, hey. [music] [music] [music] This motor is so close to not fitting.
Speaker A
There is an 1/8 in of clearance on the bottom side, but I love how it looks in here. [music] Let's whip up some new motor mounts.
Speaker A
and modify the hull just a little bit to accept them. [music] [music] [music] [music] [music] [music] [music] Check out our suspension system. These rubber isolators are out of a military crate that held a jet engine. Look how well this works.
Speaker A
They have their own suspension inside the boat. [music] I got my space suit gloves on. We're doing the final install on the battery here.
Speaker A
Yay. It didn't even explode this time. Can't wait to see this motor spin. I think we can do it today.
Speaker A
There we go. We also need to redo all of the coolant hoses. This is kind of fun.
Speaker A
There's a lot of crazy shapes. Uh this is my favorite because it looks like a little puppy. [music] We are ready to fill it up with coolant and oil. [music] I've got the motor full of oil, so we
Speaker A
can turn on the pump and test the flow. It pulls out of the bottom of the case there and comes in the top here. And we get to see it draining into the case. Wow, look at that.
Speaker A
What? That's so cool. Now we can hook it up. Charge port sensor is plugged in.
Speaker A
Now we will see if it starts to charge. No way. It's charging. Is charging power status on? It's pulling 9 amps. Let's go. I'm so pumped.
Speaker A
Seeing this thing charge after all those hours of work really pays off. [music] It's 3:30 in the morning. I just got connected to the inverter. You actually use Wi-Fi for the upgraded board that I put in there. You can see we're
Speaker A
connected to inverter. [music] This is months in the making. We are ready to spin over the Model S motor in the boat. Oh my gosh, I'm so excited.
Speaker A
Enable. I'm going to give it a little throttle and see if it spins. This thing is silent. The Model 3 motor was a lot louder.
Speaker A
Let's go. [music] There's a lot of little things to do, but I just want to get it on the water and make sure that it works. You want to go with I got your harness in the mail today.
Speaker A
Are you ready, dude? Can't wait. I'm so pumped. Yeah. The last test drive we did was a year ago. We didn't have time to put the seats in, but that's Bro, are we gonna die?
Speaker A
Power on the motor. For all the testing today, I'm going to set the power limit to about 60% and the maximum RPM about 50%. And I think it's ready to go.
Speaker A
See, we got full bars of battery fully charged. I'm I'm nervous. [snorts] Ready? Dude, she's working.
Speaker A
It's working. Oh my gosh, it sounds so smooth. It's so quiet. Oh, she wants to rip.
Speaker A
I guess we're just off to sea. Okay, calm down. When should we give it full power?
Speaker A
Dude, not yet. Floor it. Holy crap. No way. What the heck? Holy smokes. That is insane. Was that full throttle?
Speaker A
No, that wasn't full throttle. [laughter] [laughter] Holy crap. What [screaming] the heck? [laughter] We just went like 50 miles an hour.
Speaker A
That's crazy. Like working on a project in the shop for 3 years and then the first time you take it out properly, you have to turn your hat backwards cuz it is that fast. It's 0 to 100.
Speaker A
Smoking up the whole environment. Yeah, I am. Couldn't [laughter] be awesome. Anyway, did you hear about that new lithium mine going in across the street?
Speaker A
[music] Yep. Heat. Dude, this thing rips. It's so sick. I can't believe it. It's working so good. We're going to make a couple tweaks. Maybe move the batteries forward a little bit. And then all we have to do
Speaker A
is paint it, put in the windows, put on the stickers, just like little stuff.
Speaker A
Finally, after three years of working on it, it is functional. We officially own a Tesla powered mini jetboat. This is amazing. In the next [music] episode, we are finishing the jetboat build. Huge thanks to Tuby for sponsoring this
Speaker A
project. Come back next week for episode three. Or if you want to watch the entire build series, right now it is live on Tuby.
Topics:Teslaelectric boatbattery upgradeModel S motorModel 3 motorcustom electric drivetrainjetboathigh voltage batteryelectric motor modificationDIY electric vehicle