Skip to content
Get App

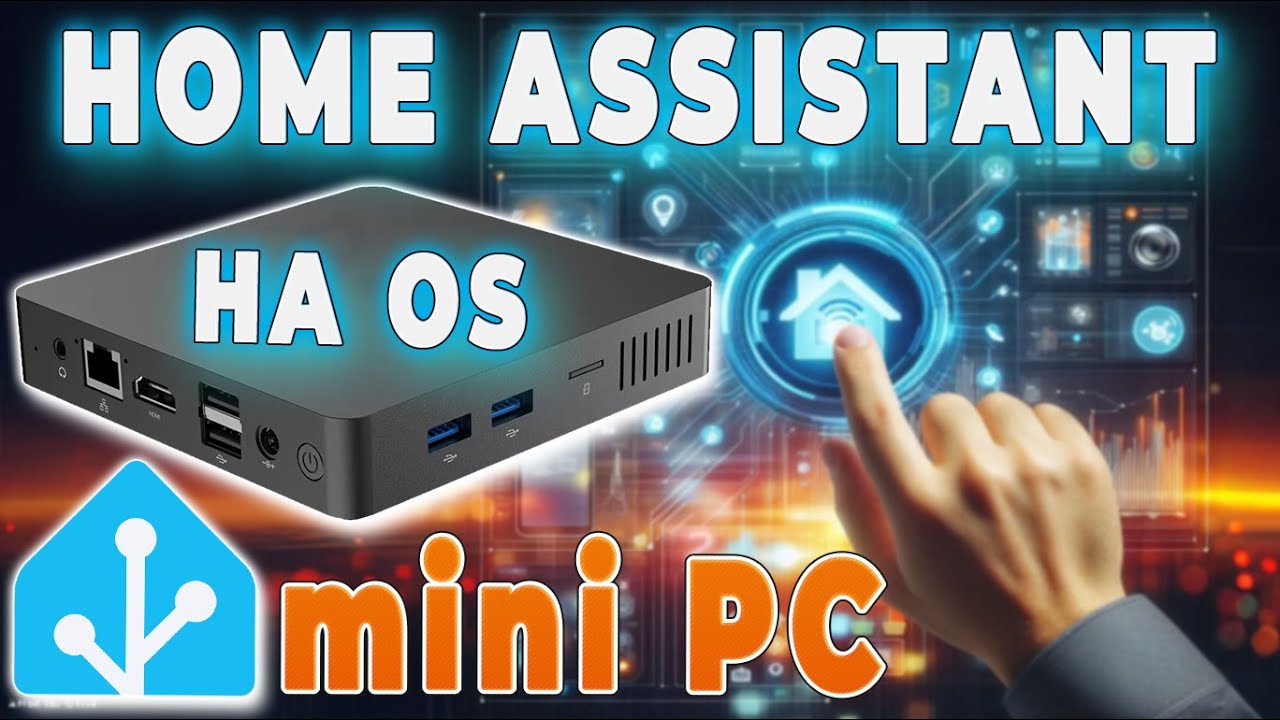
⚙️ УСТАНОВКА Home Assistant OS | Гайд для новичков

Step-by-step guide to installing Home Assistant OS on a single-board computer, replacing deprecated Supervised and Core methods.

Key Takeaways

  • Home Assistant Supervised and Core installation methods will no longer receive updates after version 2025.12.
  • Home Assistant OS is the preferred and supported installation method going forward.
  • Using a single flash drive with both Ubuntu Desktop and Home Assistant OS images simplifies the installation process.
  • Backing up your smart home configuration is crucial before reinstalling or restoring Home Assistant.
  • The video provides a practical, beginner-friendly walkthrough for installing Home Assistant OS on a single-board computer.

What the video covers

  • The video explains the discontinuation of Home Assistant Supervised and Core installation methods starting version 2025.12.
  • It focuses on installing Home Assistant OS as the recommended method.
  • Comparison of installation methods: Home Assistant OS vs Container, with Container lacking key add-ons.
  • The installation is demonstrated on a Z-Blade 7700 single-board computer.
  • Instructions include downloading Ubuntu Desktop and Home Assistant OS images.
  • Shows how to use balenaEtcher to flash images onto a single flash drive containing both OS images.
  • Describes BIOS access and boot configuration for installation.
  • Emphasizes backing up smart home data before installation and restoring from backup.
  • Clarifies that Ubuntu Desktop is only used as a tool to write the Home Assistant image.
  • Final steps include accessing Home Assistant via IP address after installation.

Answers

Questions about this video

Why is the Supervised installation method being discontinued?

The Home Assistant developers announced that support for Supervised and Core installation methods will be discontinued starting with version 2025.12, meaning no further updates will be provided for these methods.

What are the advantages of installing Home Assistant OS over Container?

Home Assistant OS supports add-ons like Zigbee2MQTT and Mosquitto broker, which are not available in the Container method, making OS installation more feature-complete.

Can I use a single flash drive for both Ubuntu Desktop and Home Assistant OS images?

Yes, the video demonstrates placing both Ubuntu Desktop and Home Assistant OS images on one flash drive, simplifying the installation process compared to using two separate drives.

Full Transcript — Download SRT & Markdown

00:01
Speaker A
So, in this video, I will show you how to install Home Assistant OS. In my last video, I showed how to install Home Assistant Supervised, but the Home Assistant developers released this article stating that the Supervised and Core installation methods will be removed.

00:15
Speaker A
removed. Basically, here is the article , you can read it, but in short, support will be discontinued starting with version 2025.12. Meaning, Home Assistant will still work if you use the Supervised installation method, but you won't receive any more updates.
00:29
Speaker A
Basically, here is the article. You can read it, but in short, support will be discontinued starting with version 2025.12. Meaning, Home Assistant will still work if you use the Supervised installation method, but you won't receive any more updates.
00:38
Speaker A
Container because it lacks add-ons, which include Zigbee2MQTT, Mosquitto broker, and all the other programs I find interesting. That's why I see no point in installing Container at all.
00:48
Speaker A
They write here why they did it, and so on. You can read it if you are interested. While there were four installation methods before, there are now only two: Home Assistant OS and Container. I see no point in installing
01:01
Speaker A
This is if you need to use the device for other tasks as well. As for me, this single-board computer is purely for Home Assistant; I will be installing it on the Z-Blade 7700.
01:10
Speaker A
Container because it lacks add-ons, which include Zigbee2MQTT, Mosquitto broker, and all the other programs I find interesting. That's why I see no point in installing Container at all.
01:21
Speaker A
Meaning, one will have the Ubuntu image , and the second one is for Home Assistant. We will just put both files on one flash drive, because for some reason all tutorials use two. And just in case, I will clarify: we won't be
01:33
Speaker A
And the only option remaining is Home Assistant OS, which we will be installing here today. I won't be installing Proxmox; for those interested, this is what it is. But in short, it's a system that allows you to install multiple OSs on one device.
01:40
Speaker A
Here we click Download Ubuntu. Click Download Ubuntu Desktop. And here we select Download. I won't click it since it's already downloaded; I already tried recording this video, but I couldn't load the image onto the flash drive. Then my computer broke, and
01:54
Speaker A
This is if you need to use the device for other tasks as well. As for me, this single-board computer is purely for Home Assistant; I will be installing it on the Z-Blade 7700.
02:21
Speaker A
two files. One is Ubuntu Desktop, the other is Home Assistant OS. Next, we just go to the browser and type balenaEtcher download. Here is the official website. We click download and wait. I already have it downloaded, so I'm just opening it. Here we select our
02:38
Speaker A
There is a review of it on the channel. You can check it out if you are interested. Basically, here is the official article and guide on how to do all this. We will follow it, but it suggests using two flash drives.
02:46
Speaker A
When finished, it will look, the flash drive will look like this. We open it, create, for example, a folder named Home Assistant OS, and just copy our Home Assistant image right here. That's it, our flash drive is ready. We have
03:07
Speaker A
Meaning, one will have the Ubuntu image, and the second one is for Home Assistant. We will just put both files on one flash drive, because for some reason all tutorials use two. And just in case, I will clarify: we won't be
03:21
Speaker A
won't be doing this from scratch, but will simply restore it from a backup. But the steps will be no different, again. So, here is my single-board computer. We connect the drive here where we want to install the entire
03:37
Speaker A
installing Ubuntu Desktop; it's just needed to write the Home Assistant image. Okay. So, we go to this link.
03:49
Speaker A
mouse, connect the monitor, and provide power. So, we provide power and tap Delete. We need to enter the BIOS.
03:57
Speaker A
Here we click Download Ubuntu. Click Download Ubuntu Desktop. And here we select Download. I won't click it since it's already downloaded; I already tried recording this video, but I couldn't load the image onto the flash drive. Then my computer broke, and
04:27
Speaker A
language. We click next. Here we click next. Here we click next. Here next as well. Here we must click Try Ubuntu and click close. Now we open the Disks application. On the left, we select the disk where we want to install Home
05:06
Speaker A
everything went to hell. Damn it. Okay, we download this, and we also download the Home Assistant image. Boom, it just starts for you. I won't download it. So, we have two files. They are HA and Ubuntu. Op. 3 days later. So, we have
05:13
Speaker A
Here, select Restore Disk Image. And here we select Home Assistant OS on our flash drive. Here we click on the location. Here we select computer. Here we select Home, oh, media, CDROM. And there it is, Home Assistant, our folder
05:26
Speaker A
two files. One is Ubuntu Desktop, the other is Home Assistant OS. Next, we just go to the browser and type balenaEtcher download. Here is the official website. We click download and wait. I already have it downloaded, so I'm just opening it. Here we select our
05:38
Speaker A
Everything, the loading has started. That's it, we have done everything. Now we pull out the flash drive and reboot our single-board computer. If you see the same message as I do, we enter the BIOS. Here we go to the Boot tab. Next,
06:01
Speaker A
Ubuntu image. Here we select our flash drive. I won't be doing that. I already have the Ubuntu image on it. You just click flash and wait for it to finish.
06:11
Speaker A
That's it, our Home Assistant is running. And on this screen, you can see the IP address. Remember it. Now we can move over to our computer. So, that's it, we're on the computer. We need to access our Home Assistant. How
06:23
Speaker A
When finished, it will look, the flash drive will look like this. We open it, create, for example, a folder named Home Assistant OS, and just copy our Home Assistant image right here. That's it, our flash drive is ready. We have
06:35
Speaker A
appear here. Mine is already registered . There it is. Zobade 7700 Home Assistant server. Or the second way to find the IP is, as I already showed, the Home Assistant OS command line will display the IP for you. We go to that
06:50
Speaker A
the Ubuntu image and also the Home Assistant image. With this flash drive, we can, in principle, move to the computer where we will install Home Assistant, but before that, I will make a backup of my smart home, because I
07:21
Speaker A
. Even though I've done it many times, some problems came up right now. But, thankfully, everything was resolved, and I was able to get my smart home back. Basically, that's all. We have installed Home Assistant.
07:33
Speaker A
won't be doing this from scratch, but will simply restore it from a backup. But the steps will be no different, again. So, here is my single-board computer. We connect the drive here where we want to install the entire
Topics:Home Assistant OSHome Assistant installationHome Assistant Supervised deprecatedHome Assistant ContainerZ-Blade 7700balenaEtcherUbuntu Desktopsmart home backupsingle-board computerHome Assistant guide

Get More with the SozAI App

Transcribe recordings, audio files, and YouTube videos — with AI summaries and speaker detection. 30 minutes free.

Or transcribe another YouTube video here →