Speaker A
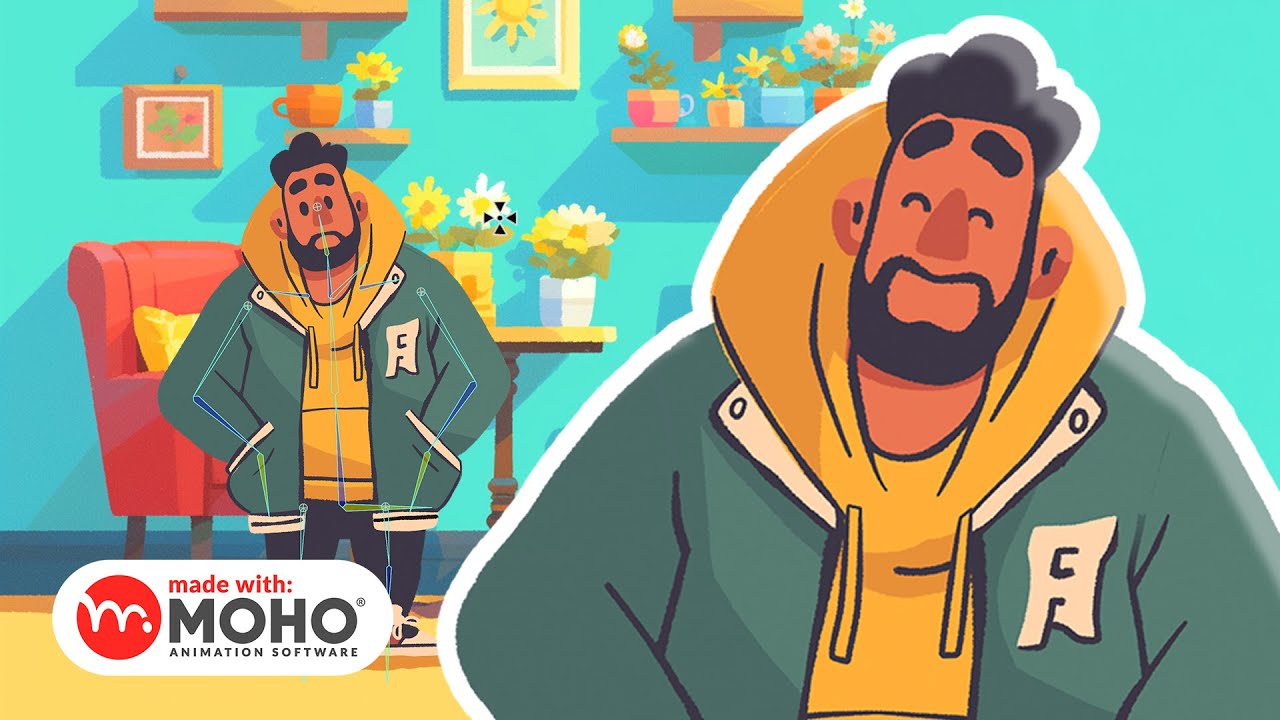
This is the full version of the Moho animation character rigging video. Recently, I've been using AI more actively to generate characters and create videos based on rigging and animated videos. So, I've been trying to get into AI a little bit lately, and there's a lot of character generation programs out there now, right? So now that I'm using ChatGPT like this as a paid version of ChatGPT, I've been trying out character creation using DALL-E 3 and now Midjourney. First, here's what it looks like now that we've imported the image and are picking a pass over it. I'm getting a little more comfortable with this vector-based form of drawing and rigging. Now, I've been studying Moho for over a year now, like a year and a half or so, and I can tell you now that it's finally out in the open, and I've been working on Sakopak content, even in the Jangipuru studio, and I've been saying, let's introduce Moho, let's introduce Moho, and then I finally did. And I've been using Moho a little bit. So, I've been working with Moho for a while now, and I've gotten pretty comfortable with the rigging itself. And now that we're in version 14, we're utilizing a lot of new features, and we're getting more confident that we can do a lot of complex shapes. This time, we want to rig a character that's a little bit detailed, a little bit like this, a little bit like this 3D feel, with a business card like this, and we're trying to rig an image like this. In fact, when I come across an image like this, normally I would just simply change it to a solid color and rig it, or I would recreate a simpler image and rig it, but this time I wanted to try something different. I realized that if I keep doing this simple image for a while, I'm not going to be able to do anything else with this Moho, so I thought I'd try a little bit of a harder form with more detail. This turned out to be a lot of fun. I remember having a lot of fun experimenting and coming up with ideas to see how we could do this, feeling like it was the limit of what we could do. Now, that's another feature that you can see, Create Limb, Create Limb. Now, one of the really great things about Moho is that the tool itself is now a little bit of a paid tool, but all of the add-ons are free. In fact, they're not all free anymore. Of course, now there are some people who are selling it for a fee, but basically most of it is free, which is awesome because it's all free. I hope you guys can get over to the obscure side of this and download all of this while it's still a free add-on and try it all out, because this is what it feels like now. Now, after the Moho is created, there's this guy called MR. He's got a YouTube channel now, and he's been creating and distributing a lot of these add-ons, a lot of these really great add-ons, to the point where you could almost say he's created the core functionality of this Moho. So, I took this add-on from him, tried it out, and realized that this is it. I feel like this is the key to any complete Moho, and it really helps make rigging and animation a breeze. Even if it's like, now I'm duplicating like that, it's basically Moho. It's too bad there's no way to duplicate the bones along with the rigged image by default. I can't replicate it all at once. But you're making that an add-on and distributing it, and that's the same thing. That's now made by someone else, and it's called the LMB form. It's a very time-consuming process to create a simple cylindrical image that's straight like that or to create a simple image that looks like an arm, or to create a circle that's exactly where you want it to be, or to create a straight line, but to be able to do it in one simple step, and to be able to do it in one simple step, once you've studied the Moho, once you've gotten this add-on script, once you've gotten this add-on script, you're going to feel like you're flying. I'm actually at the end of the production process right now, so I'm just giving you an explanation of the add-on, and it's just a continuation of the same thing over and over again. I can't help the first part. So, you've got this vector image, and now you've got it based on that, and now you've got to plant that bone, rig it, and all that stuff. Most of the time, you'll see that we're now planting bones in the eye area and the brow area, right? We will now utilize three forms of bind layers, bind points, and link bones to do some serious rigging with our branches. For the eyes, we'll do some work to make sure that the pupil is masked in the eyeball, and now we're going to split the bones like that, and we're going to plant the parts on the face separately in each of those bones, because that's where we're going to turn the face later. It's a little bit handy to have this kind of detail to create controls to adjust the angle of the face, so I'm using bind points or link bones to connect the seam between the shoulder and the hood. So, I'm utilizing bind points or link bones with the bones to create a good connection. You try the link, you move it around, you realize it's moving a little unnaturally, you fix it, and it's a continuation of that process. I'm also moving the neck like this, thinking about how the shadow on the neck should be set up so that I don't have to animate it anymore and I can just simply move the controller to make it easier to express. In this particular case, the shadow on the neck is going to be the opposite of the face controller on the face, so I'm going to use this constraint function to link it to the shadow, because I think it's going to look more like a shadow. So, you want it to follow that angle but in reverse, you're giving it a pairing like this. So technically, you're hanging a constraint. Now, even for shadows, it's going to be a case of making them two-tone like that because they're two-tone when the image is generated. Even an image like this, with a gradient like this, can still be expressed with enough shadows. And that one, we can now use a gradient image to fill it in and fill it in, and if we've got, say, an upper and lower night, we can tie them together, or we can put a mask over there and put it all on at once, or we can split the upper and lower night and just connect them so that the seams look nice and smooth, and there's a lot of different ways to do that. Rigging, perhaps, but there's no right answer. Also, the back of the hood is now expressive. When the front of the hood is lifted up like this, it would be more natural if there was no empty space in the back. And now I'm going to take that hood and I'm going to put a bone in where the hood is moving, and I'm going to bind point the front of that hood and the back of that hood together so that if the front moves, the back moves with it. So, I'm going to rig it so that even though it's layered like that, it's controlled by one bone. I'm just trying to move my body, my torso, everything, and keep it together. So, what was fun about rigging in 2D, where you're moving this and this and this and this and this and this, because it should look this good when you're moving this much, is that now in 3D, there's actually a little bit of that distance now, isn't there? I think that if you've only done 2D first, it might be a little bit distant, but I think that you can approach 2D rigging very familiarly, but you can get a little bit familiar with the concept of 3D, the concept of rigging in 3D, so I think it will be much easier if you try this 2D rigging first and then move on to 3D and study it. And now the opposite is true. I think it's going to be a very easy transition for people who have been doing 3D to do this 2D rigging, to do 2D rigging. Since the concept is the same, a vector image leads to a path anyway, right? It leads to a path? It leads to a path. It's the same thing anyway in 3D, in modeling, it's the same thing where you have vector points that are all dotted planes and now you're going to link them to a bone and now that rigging is going to be there. The only difference.