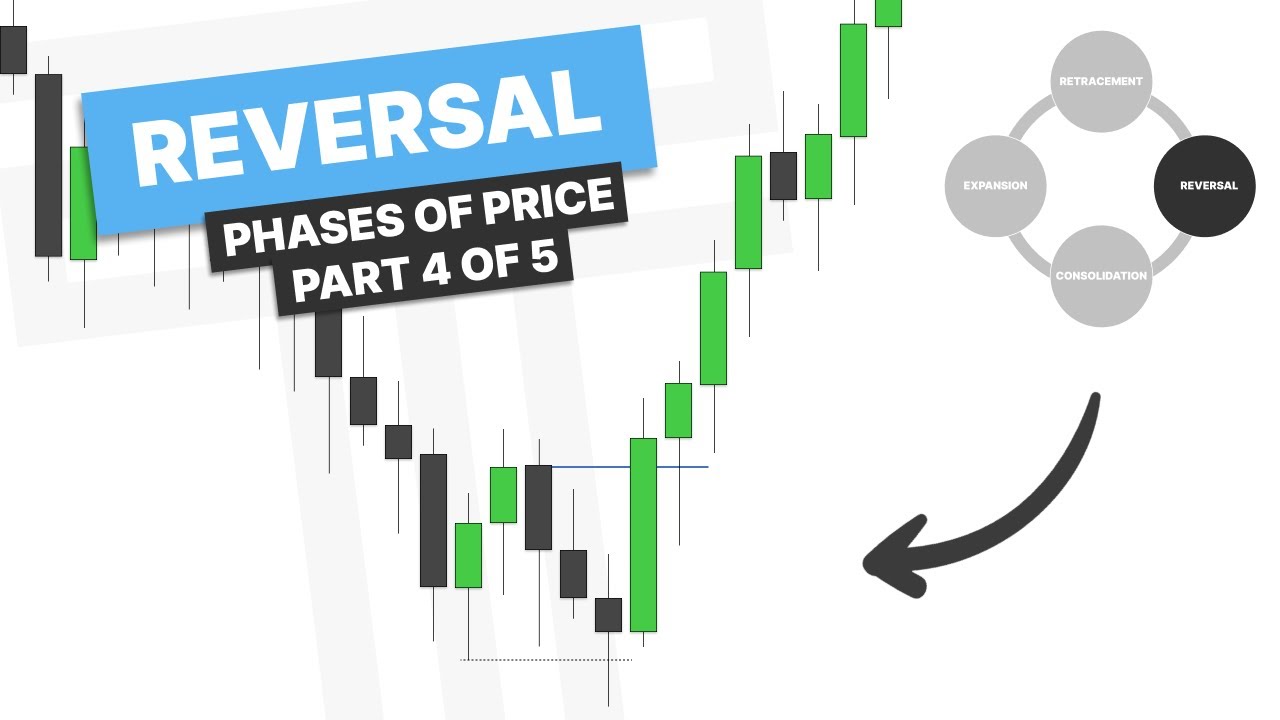
Learn why traders fail with ICT concepts and how focusing on one PD array can improve your trading success.
Key Takeaways
- Focus on mastering one PD array rather than trying to use all ICT concepts at once.
- Choose a PD array that is easiest for you to identify and fits your trading style.
- Use confirmation techniques to validate your trades and avoid premature entries.
- Combining PD arrays with highs, lows, and liquidity improves trade reliability.
- Consistency and patience in applying one strategy lead to better trading outcomes.
Summary
- Many traders fail not due to lack of knowledge but inability to focus on one ICT concept or PD array.
- PD arrays include concepts like fair value gap, inversion, breaker block, order block, change in state of delivery, OT, and Fibonacci tools.
- Using all PD arrays simultaneously can clutter charts and reduce trading effectiveness.
- Traders should choose one PD array that is easiest to identify and makes the most sense to their strategy.
- Confirmation levels vary; some traders prefer minimal confirmation while others, like the presenter, prefer more confirmation before trading.
- Combining PD arrays with highs and lows or liquidity zones can enhance confirmation.
- The presenter’s preferred PD array is the change in the state of delivery, focusing on continuation rather than catching reversals.
- Traders are advised to stop jumping between concepts and lock in on one strategy to improve execution and consistency.
- Examples on charts demonstrate how to apply a chosen PD array with confirmation for better entries.
- The video emphasizes simplicity, repeatability, and patience in mastering one PD array for trading success.
Chapters
- 00:00Introduction and Why Traders Fail with ICT
- 01:02Overview of PD Arrays and Reversal Concepts
- 01:45Choosing the Right PD Array for Your Trading
- 02:28Importance of Confirmation in Trading
- 04:59Avoiding Overcomplication and Staying Focused
- 07:09Order of Reversal and Confirmation Levels
- 08:01Combining PD Arrays with Highs, Lows, and Liquidity
- 11:19Final Advice and Chart Examples


